
As promised in my previous post, Bob and I got really serious and installed 25% (one section) of the new toe rail. As always, preparation was the key to success. We spent Saturday bending the aluminum and drilling the deck in preparation for the actual fitting on Sunday. Everything worked as planned. We drilled undersized holes and “threaded” the screws through the fiberglass. We just inserted a few nuts to hold the rail in place but most of them were just holding the rail by the thread (a trick that Robb Walker taught me)

Ready for toe rail!
After dry fitting the toe rail, we removed it. We found out that the aluminum has no memory. The extrusion came back straight as an arrow! We then drilled the holes to size, cleaned up everything and put masking tapes on the holes as the nights are quite humid. Another nice trick: on Saturday night I glued 40 fender washers to 40 nuts with super glue. That helped holding them together and making sure that the nuts would not fall into the socket.
On Sunday, with the help of Dianna, Paul, Glen and Judy, we were able to bend the rail back into place. Only this time we had a few beads of Life Calk as sealant. A few screws were really hard to reach from below but we managed to get all of them. We were very happy with the result.
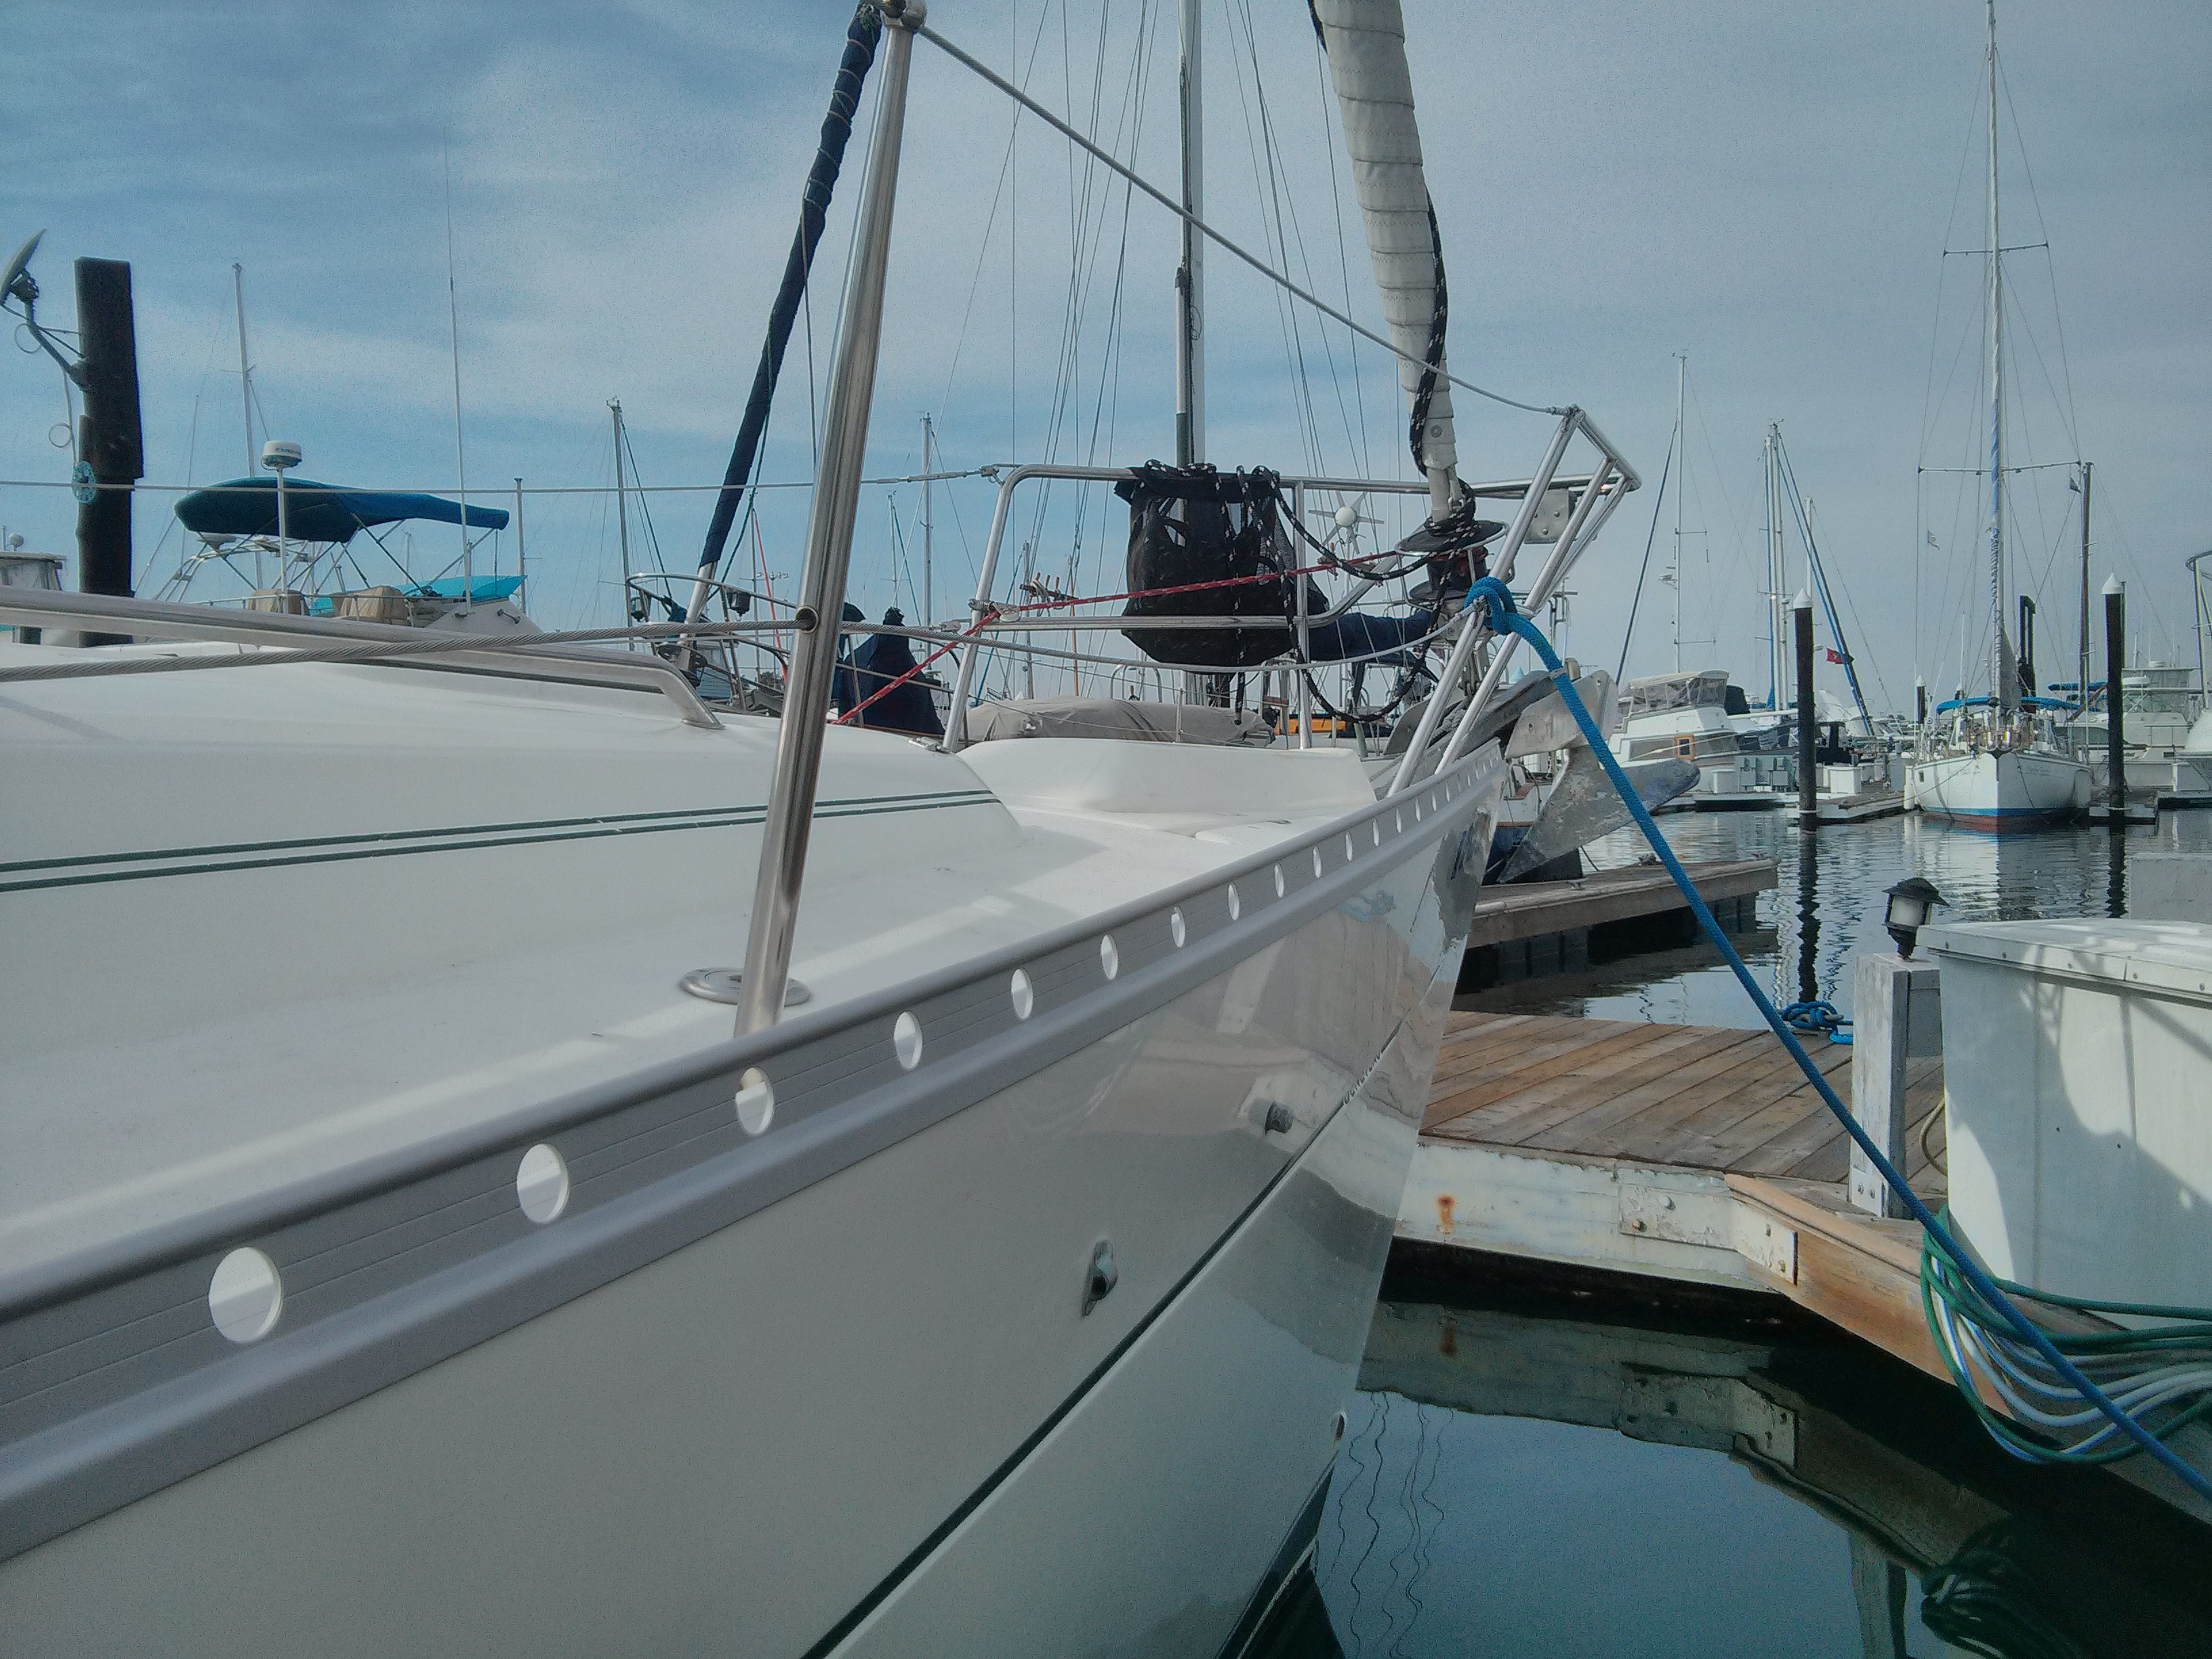
Looking good!
We still need to add a notch “somewhere” for the over sized cleats that came with the boat.
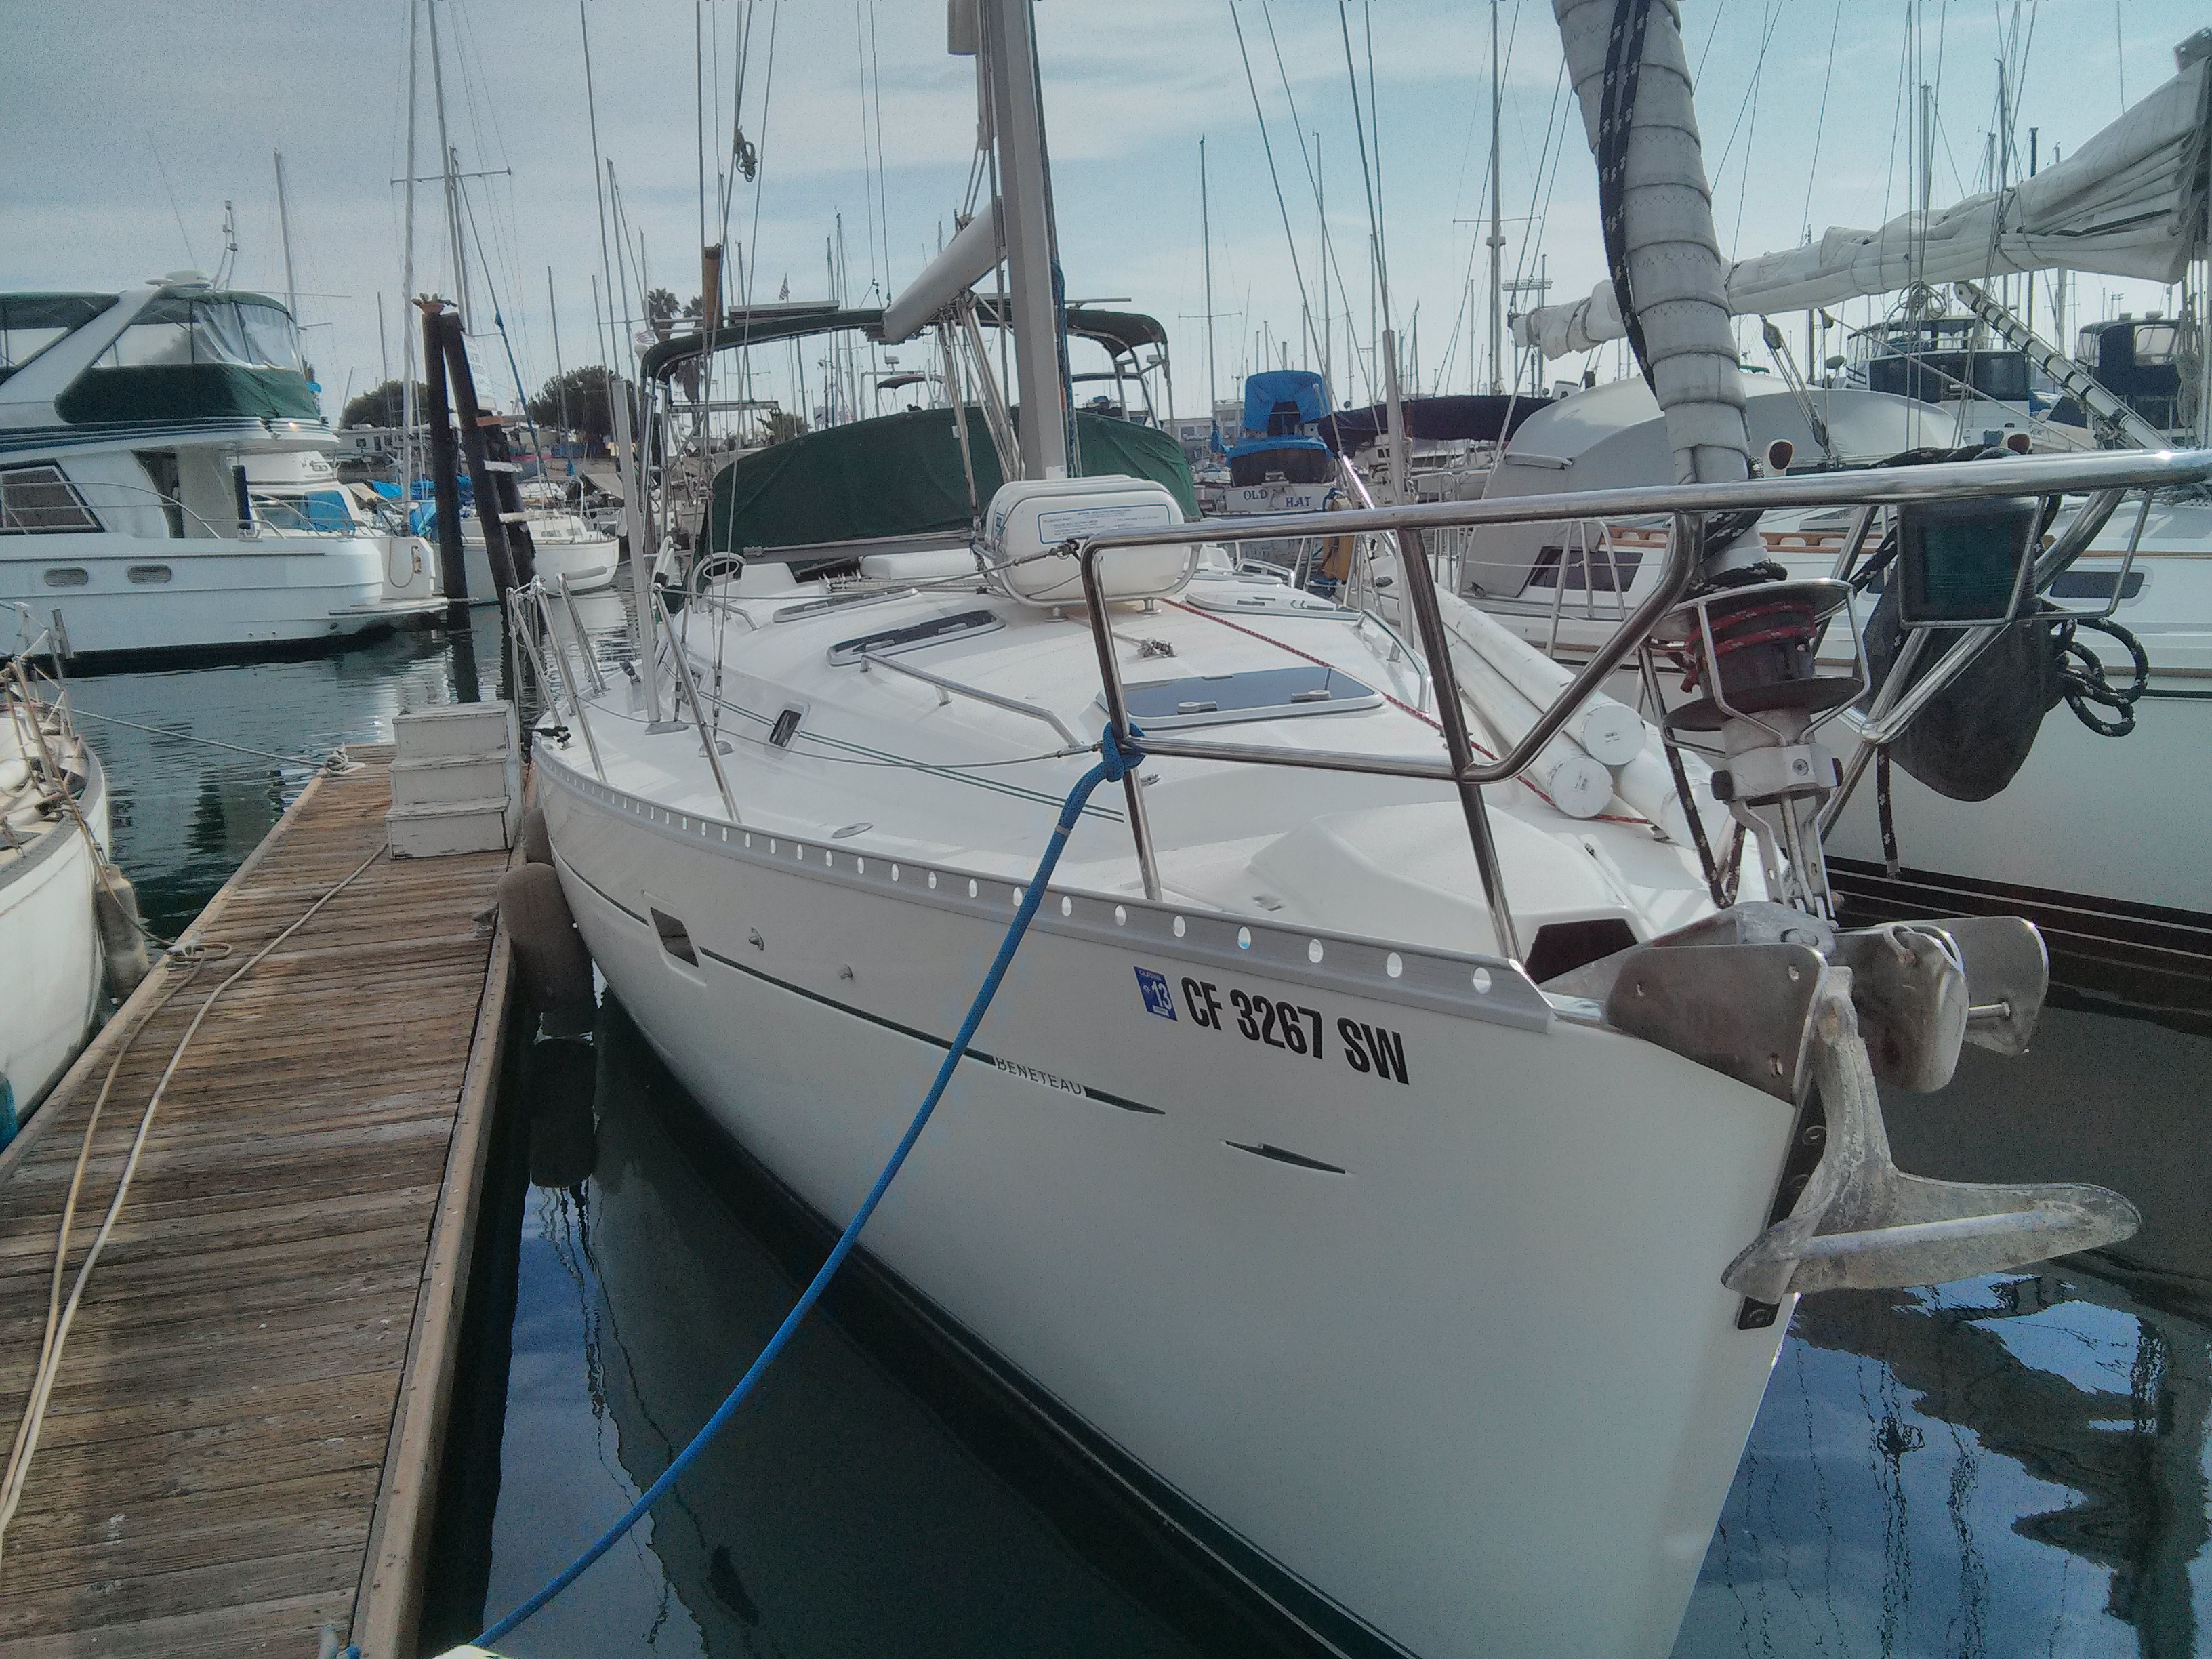
To be notched
The icing on the cake was that Bob found out (at the end of the day!) that we can just unscrew the top of the cabinets to reach basically everywhere. I will still need to use my aluminum stick extension (socket taped at the end) but that removes the last worry I had (especially in the galley).