As Bob and I are working on getting Med Viking ready for the big race, we have good days and bad days…
Bad days: changing one of the two heads looked like an easy project a few months ago.In reality this project took a very long time. First the holding tank was leaking so I ordered a new tank from Beneteau. When the new tank arrived, I had moved on to another project so the tanks sat uninstalled for a while. Just as I was ready to install the new tank, I discovered that the other head also needed a new tank so I “borrowed” the new tank. At that point we had at least one head fully functional. I ordered a new tank from Ronco Plastics in Tustin (highly recommended). The new tank is more practical than the Beneteau original because it has all the pick up at the top:

Tank from Ronco Plastics
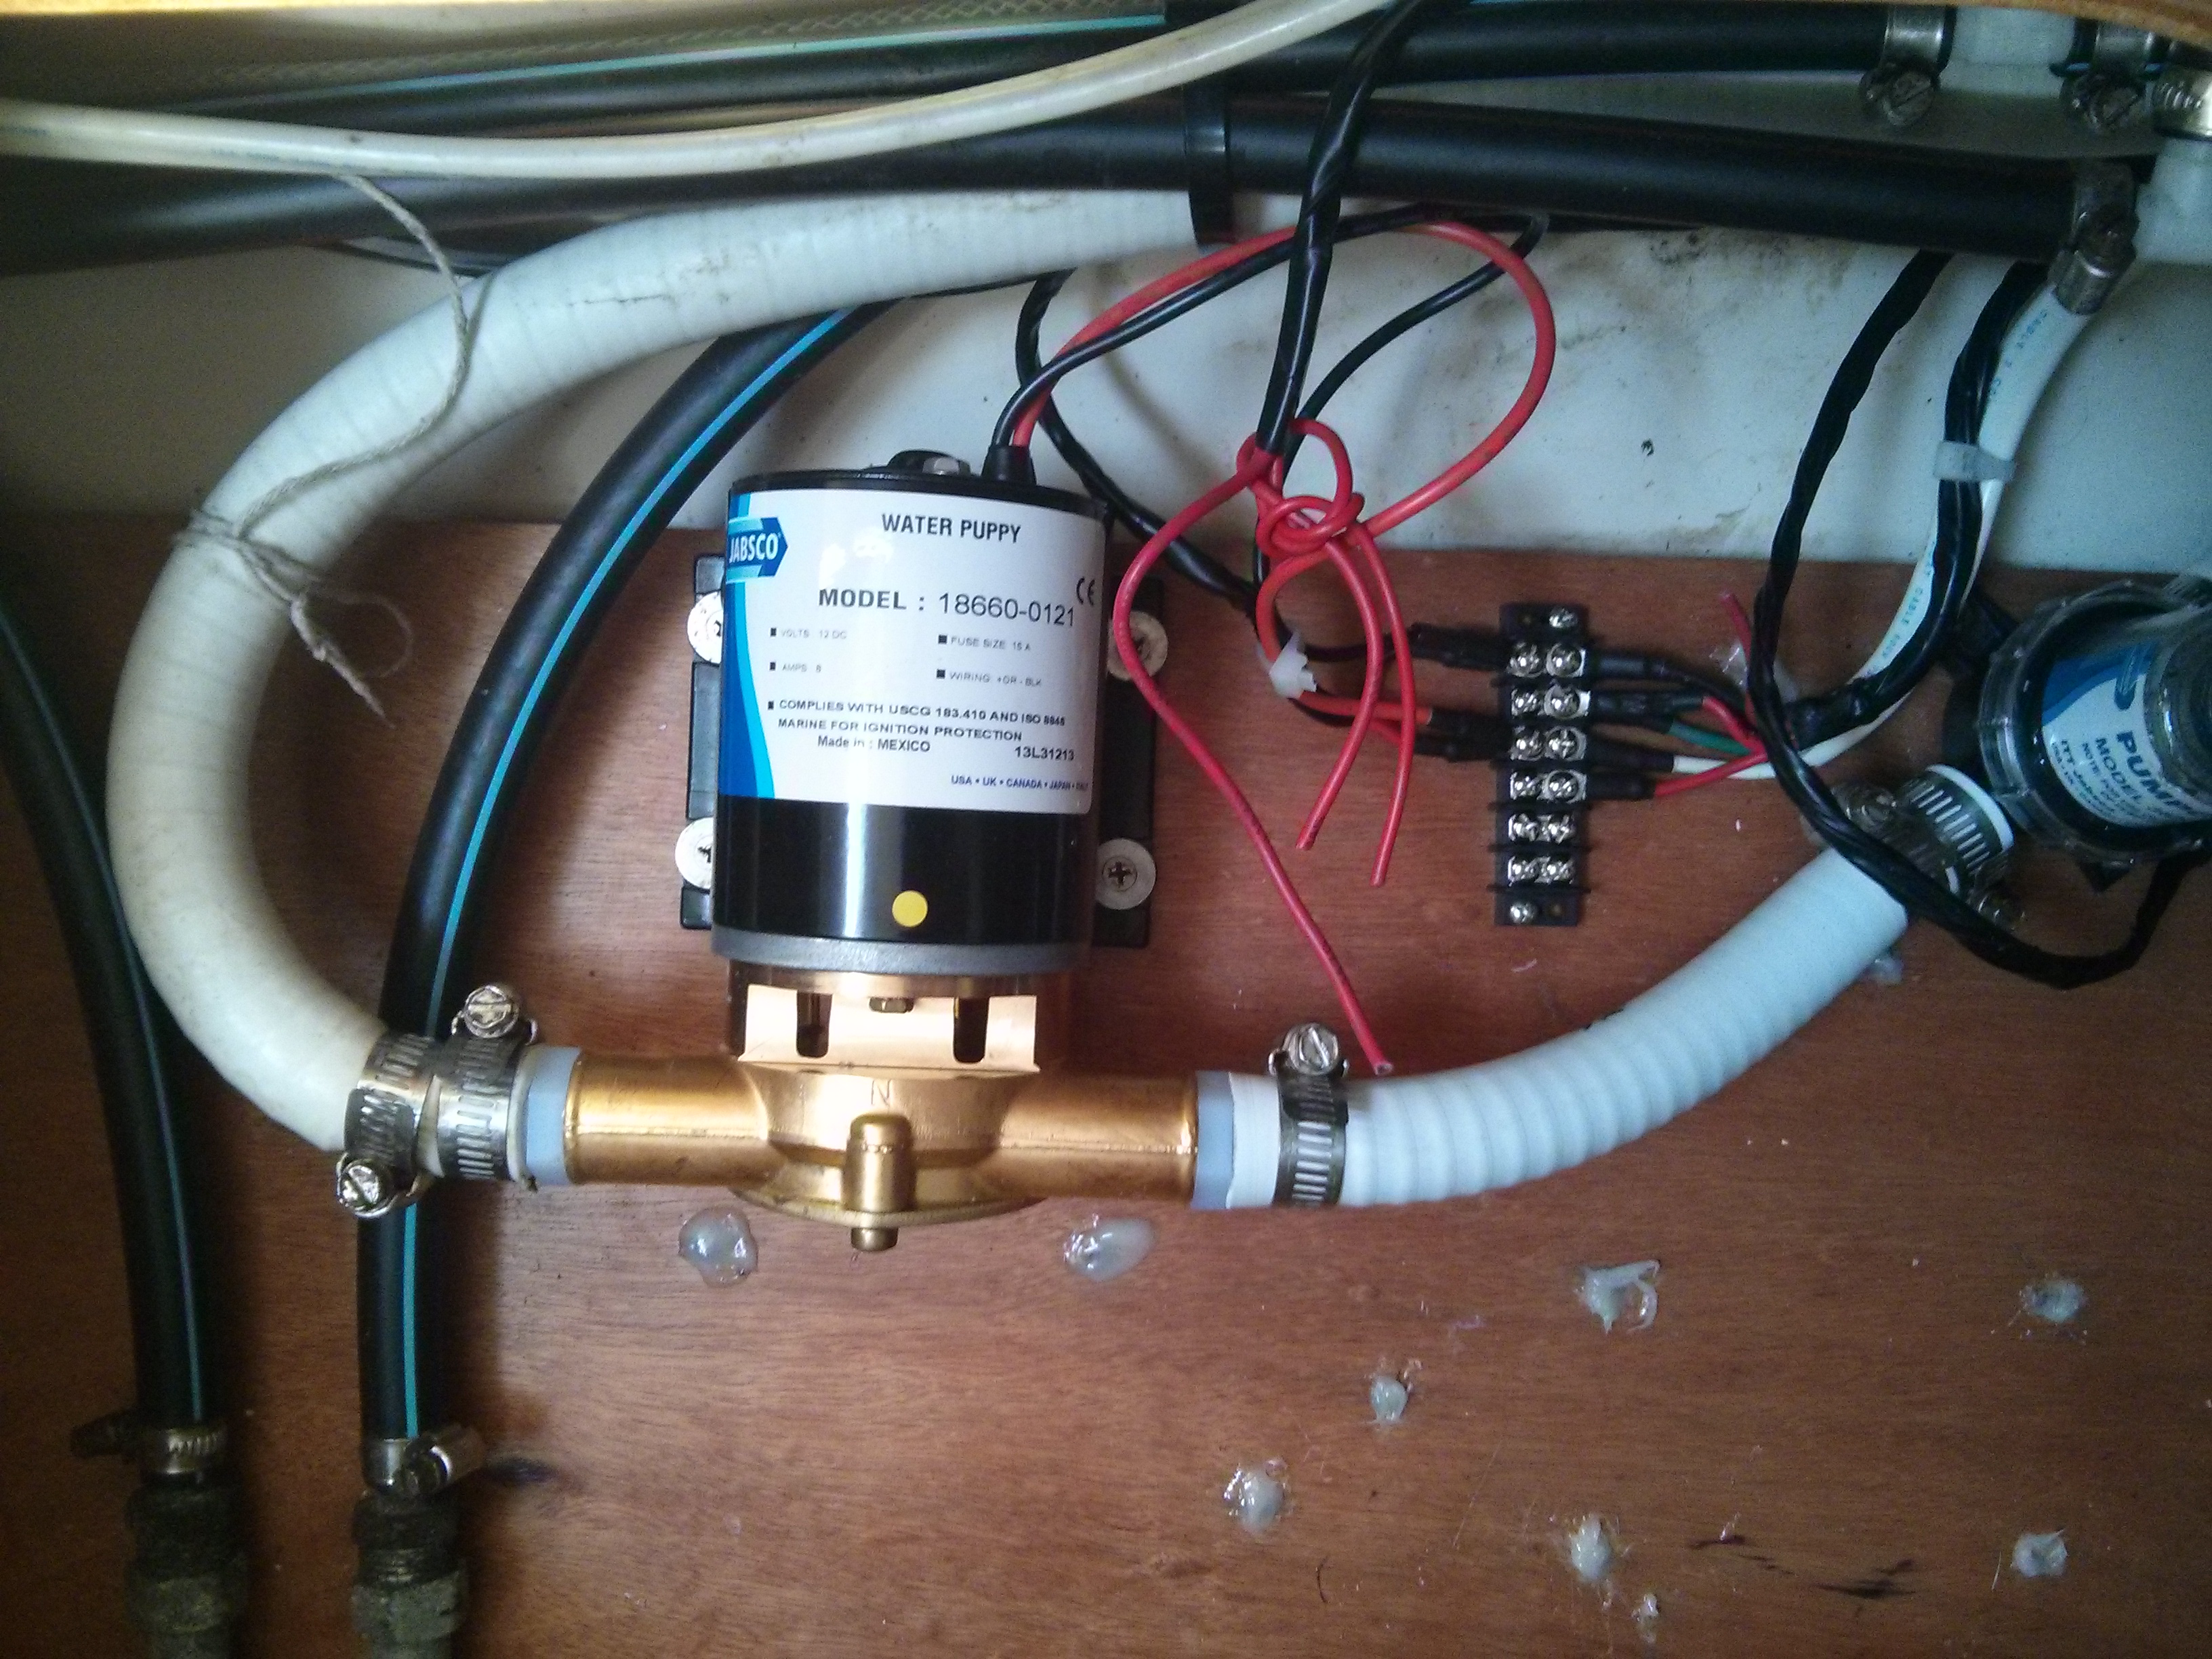
After the tanks was installed I discovered that the motor that runs the electric toilet had been damaged when it got soaked into water. So I ordered a new motor… A few days later I was able to test the whole setup only to realize that the macerator pump was not working well enough to empty the tank. So yet another trip to West Marine to get a new macerator pump…
Good days: after I removed the diesel generator, I needed to find a good way to charge the house bank. One of the members of the Beneteau 411 group on Facebook offered a never-used 100 Amp alternator at a pretty nice discount. I bought it from him. The good news is that we were able to install the alternator pretty quickly. The 100 amps alternator is coupled to a smart charger (MC-614 from Balmar) so we should have plenty of juice to run all the electronic gadgets we are bringing with us!
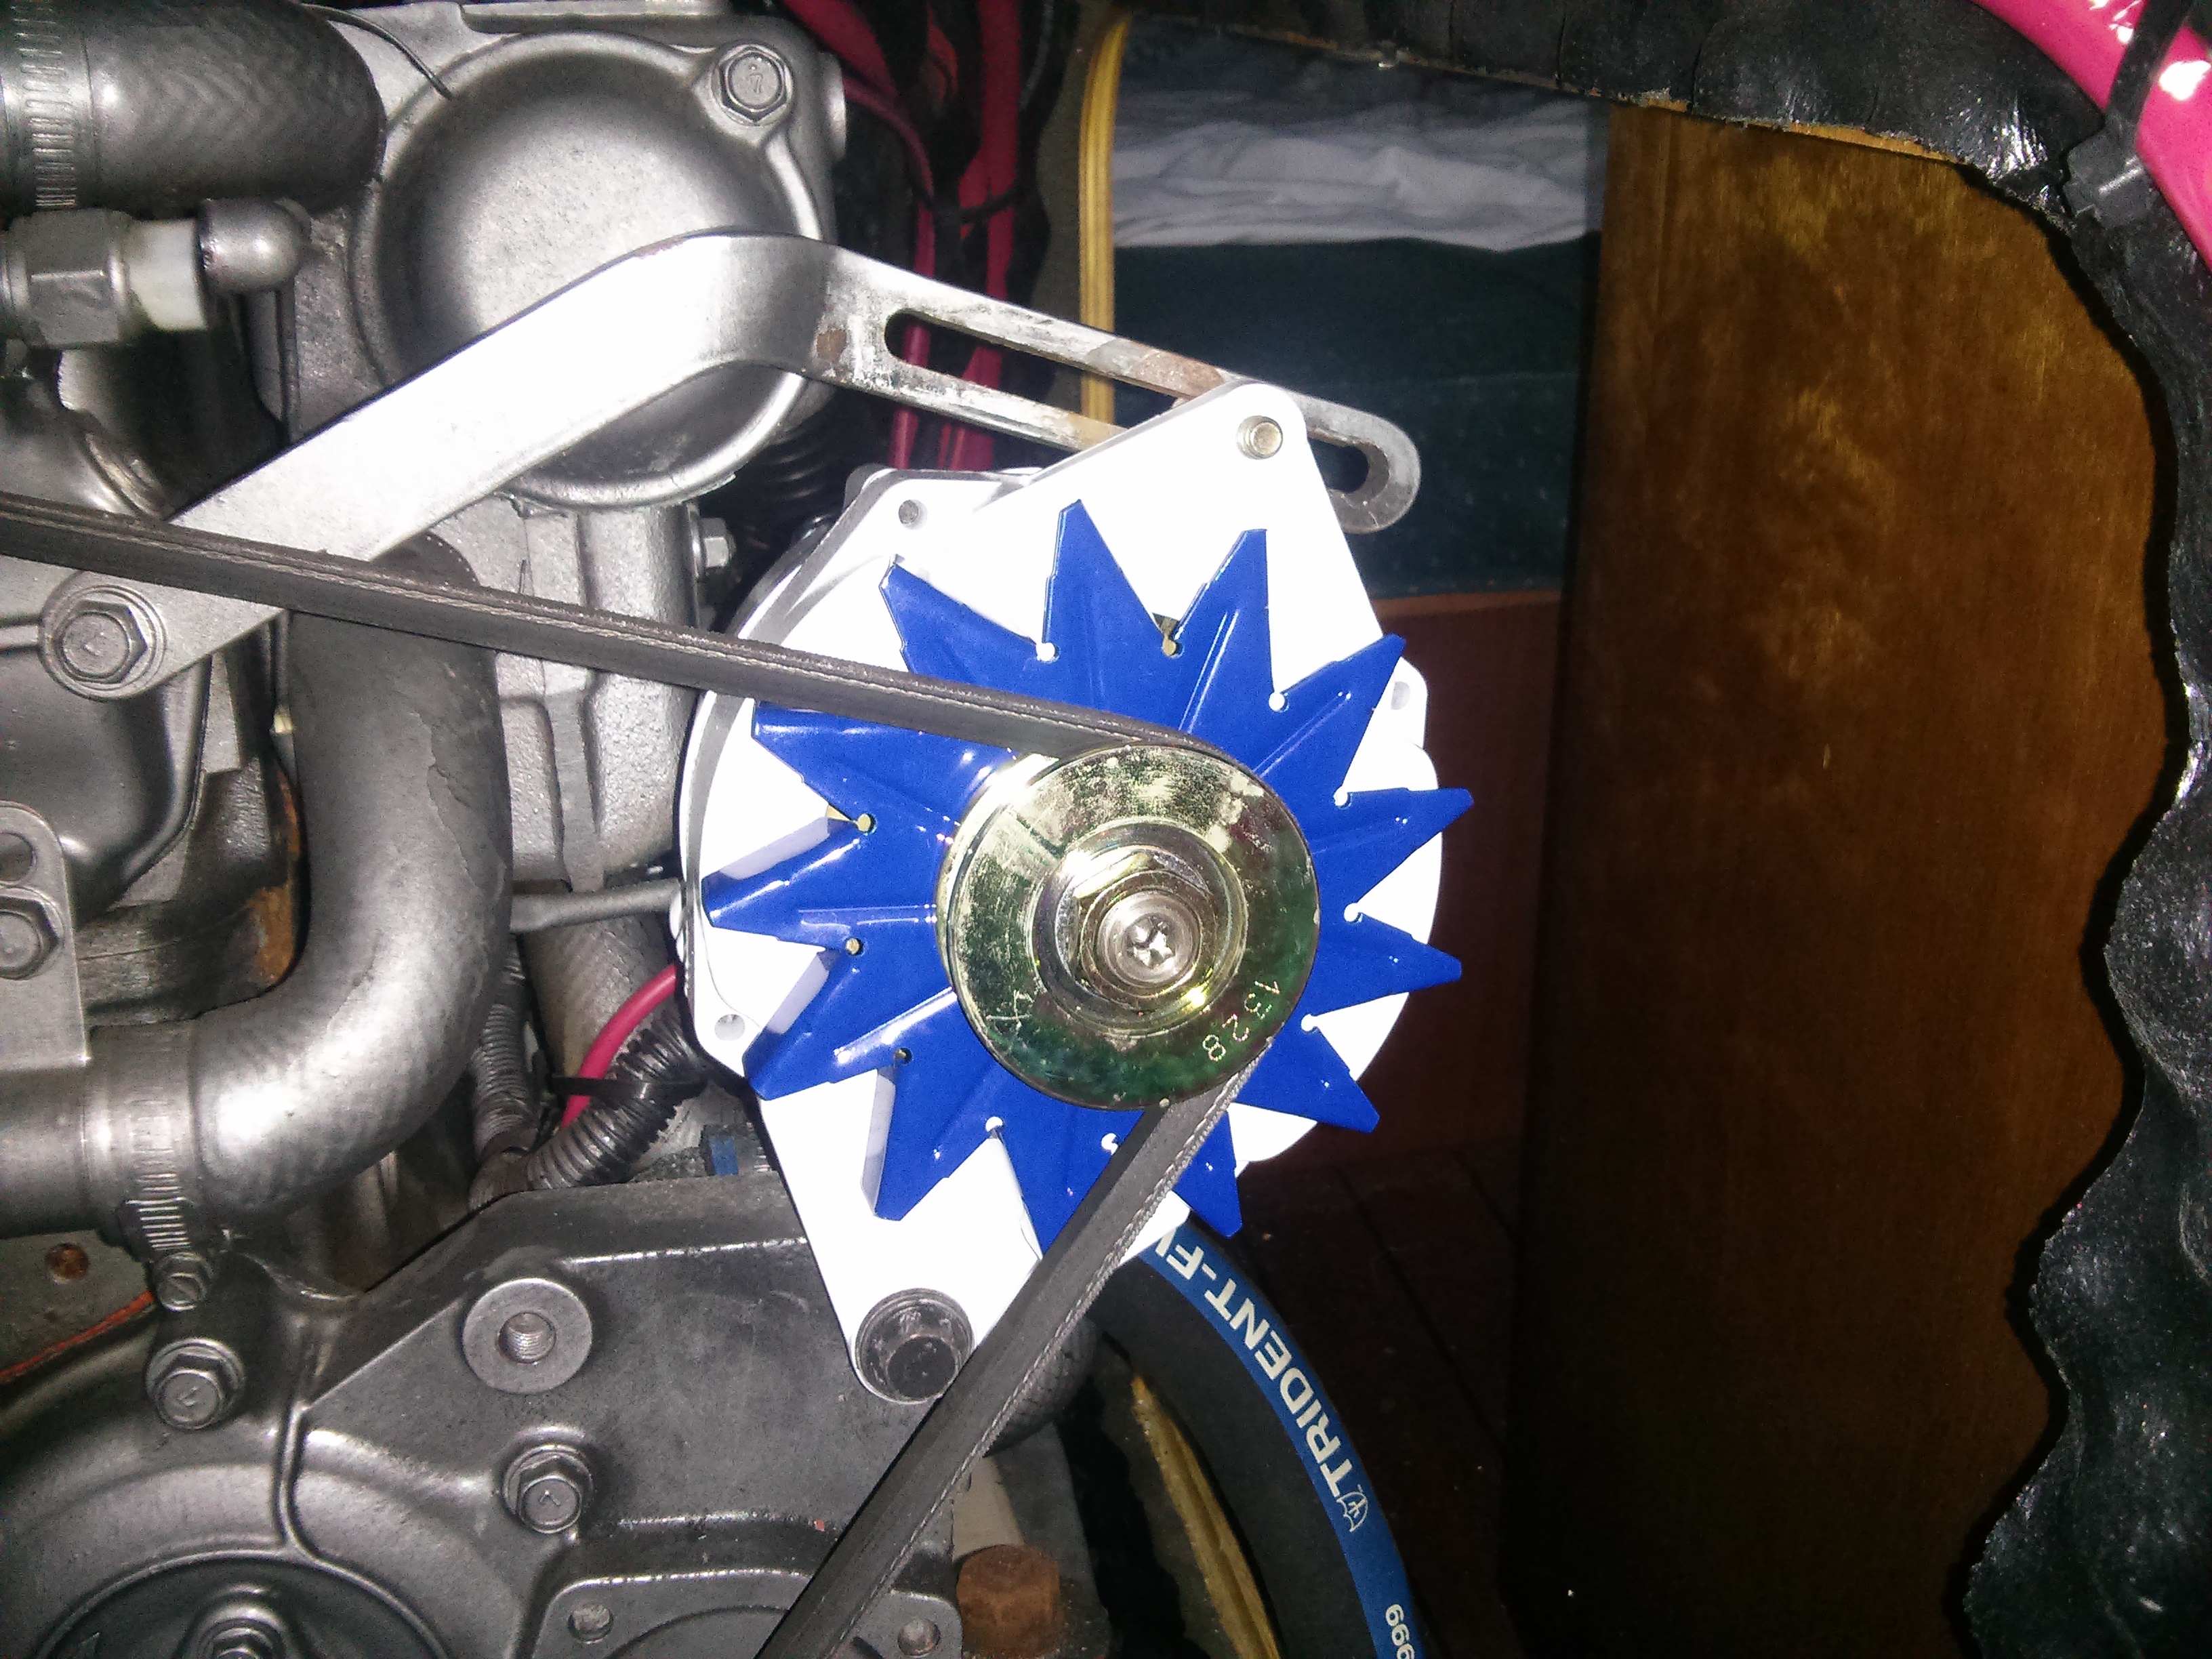
The 100 amps alternator