Another busy weekend

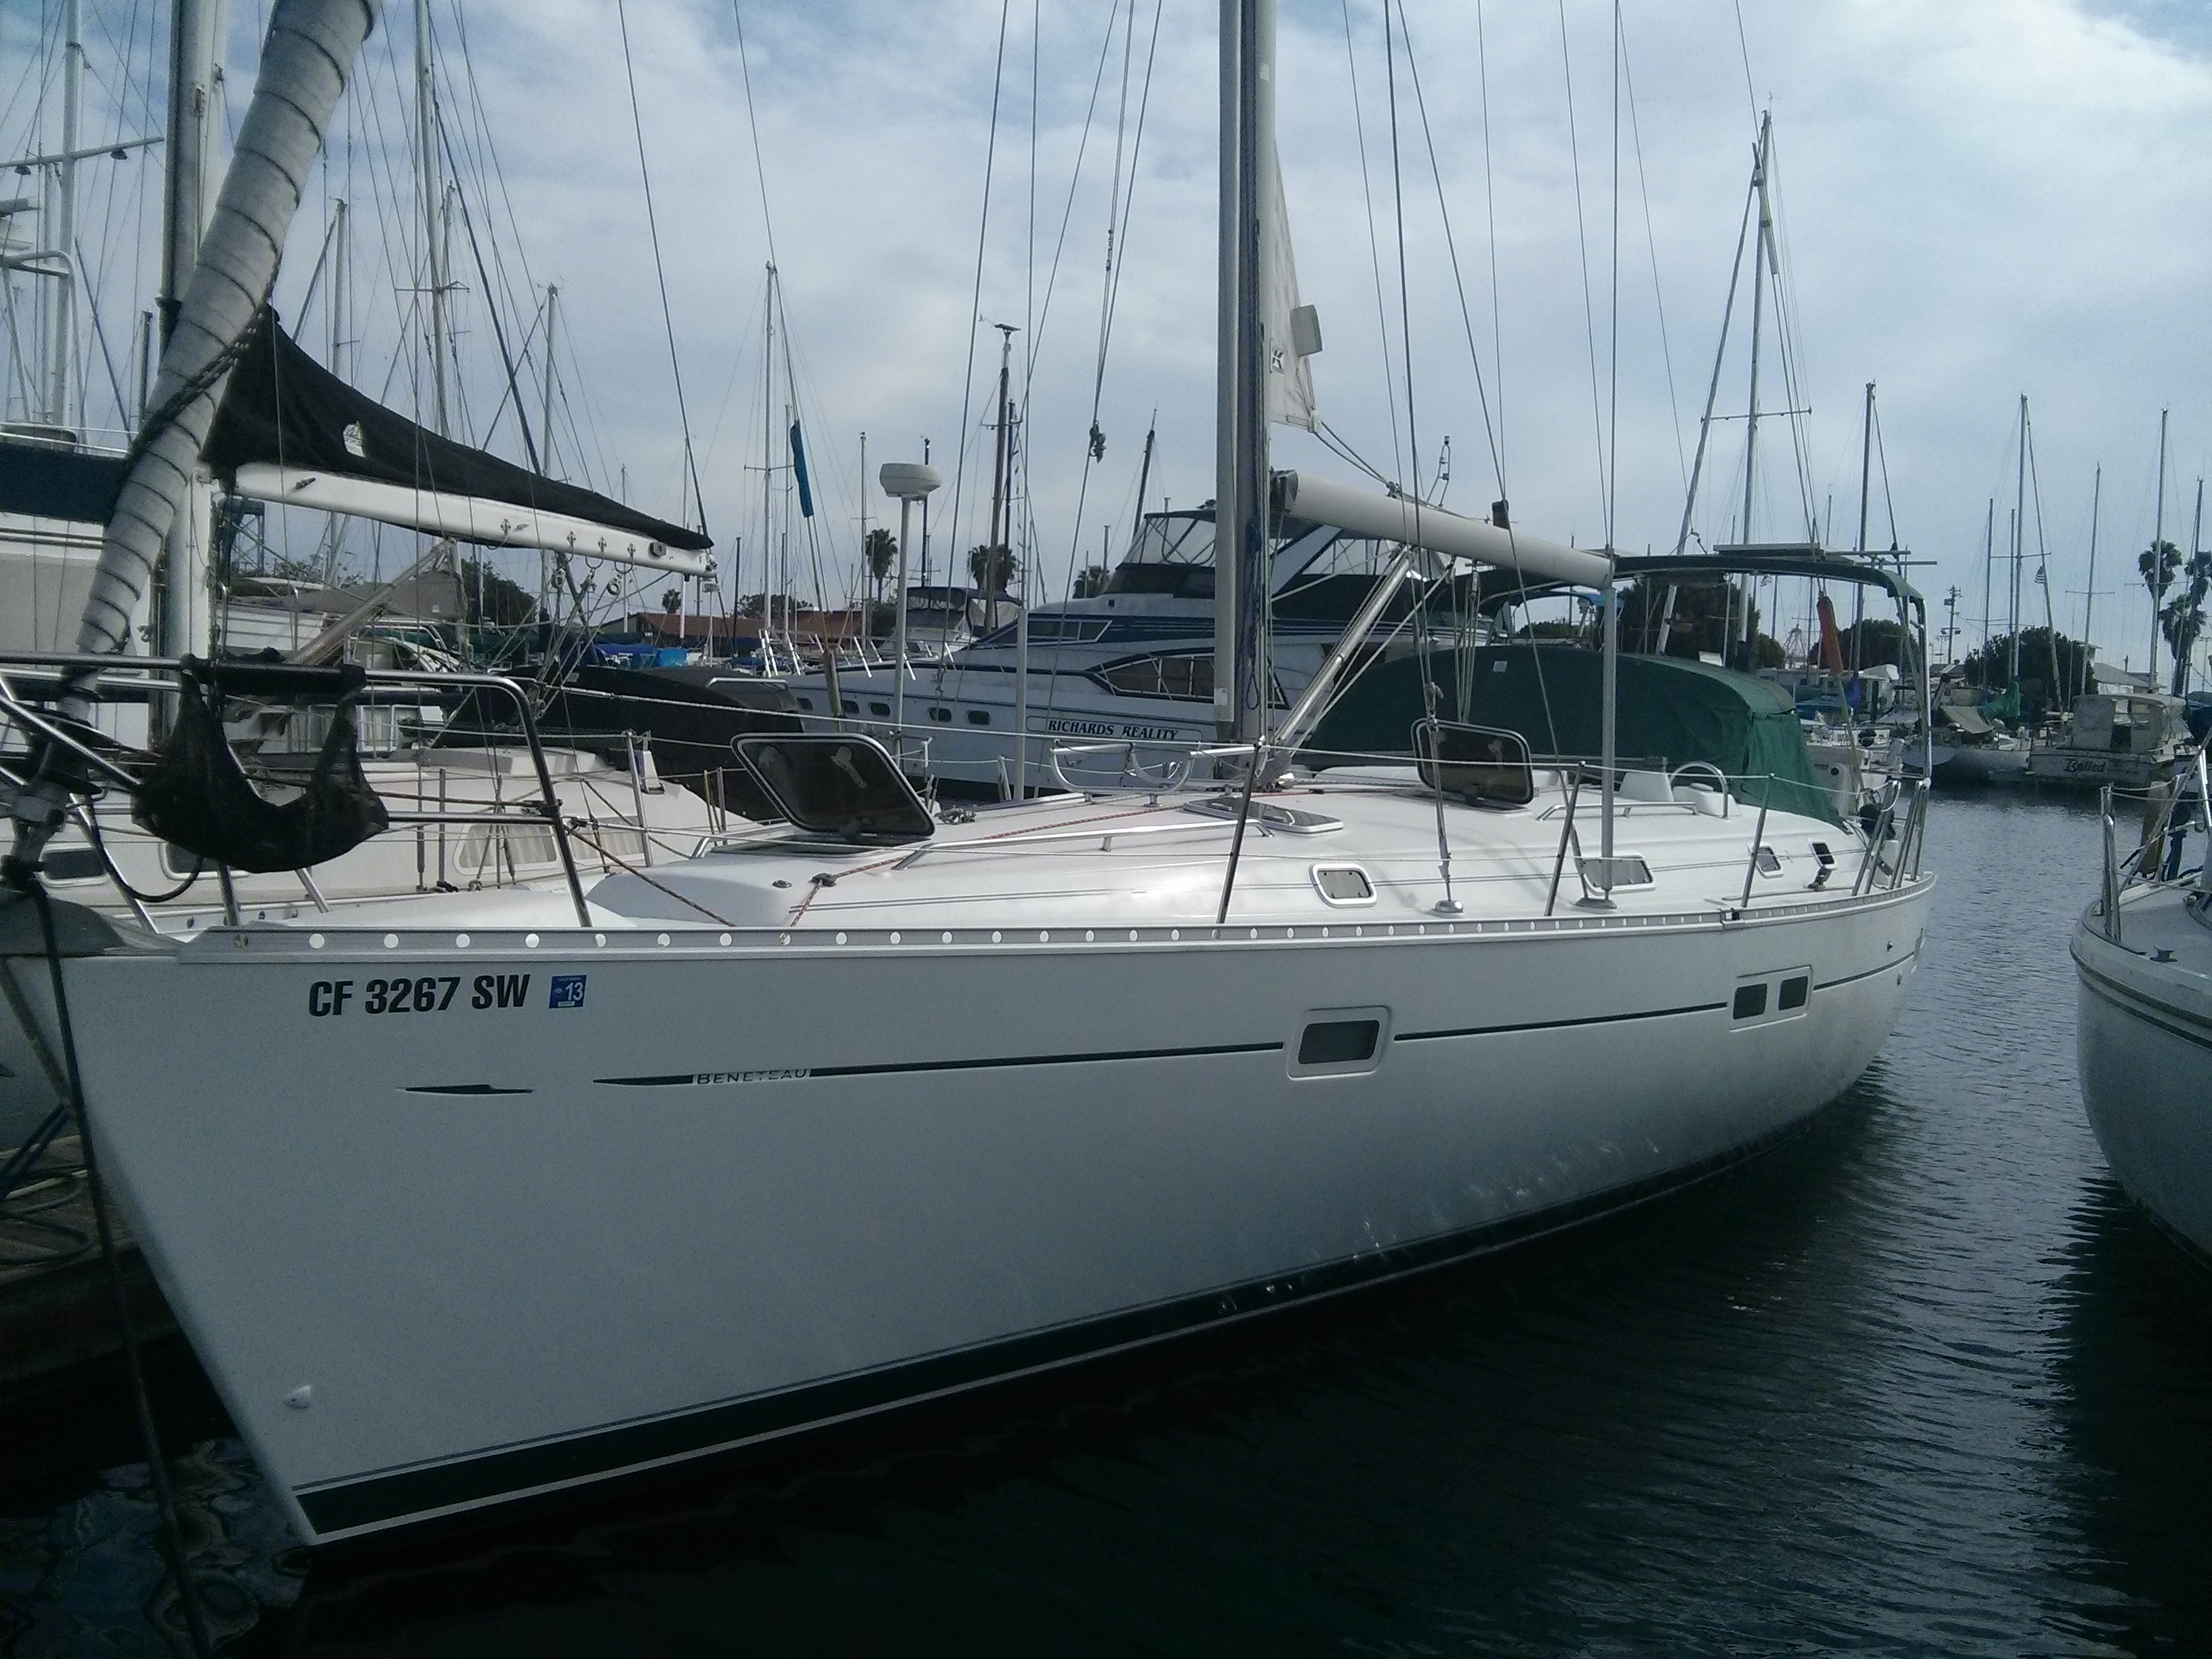
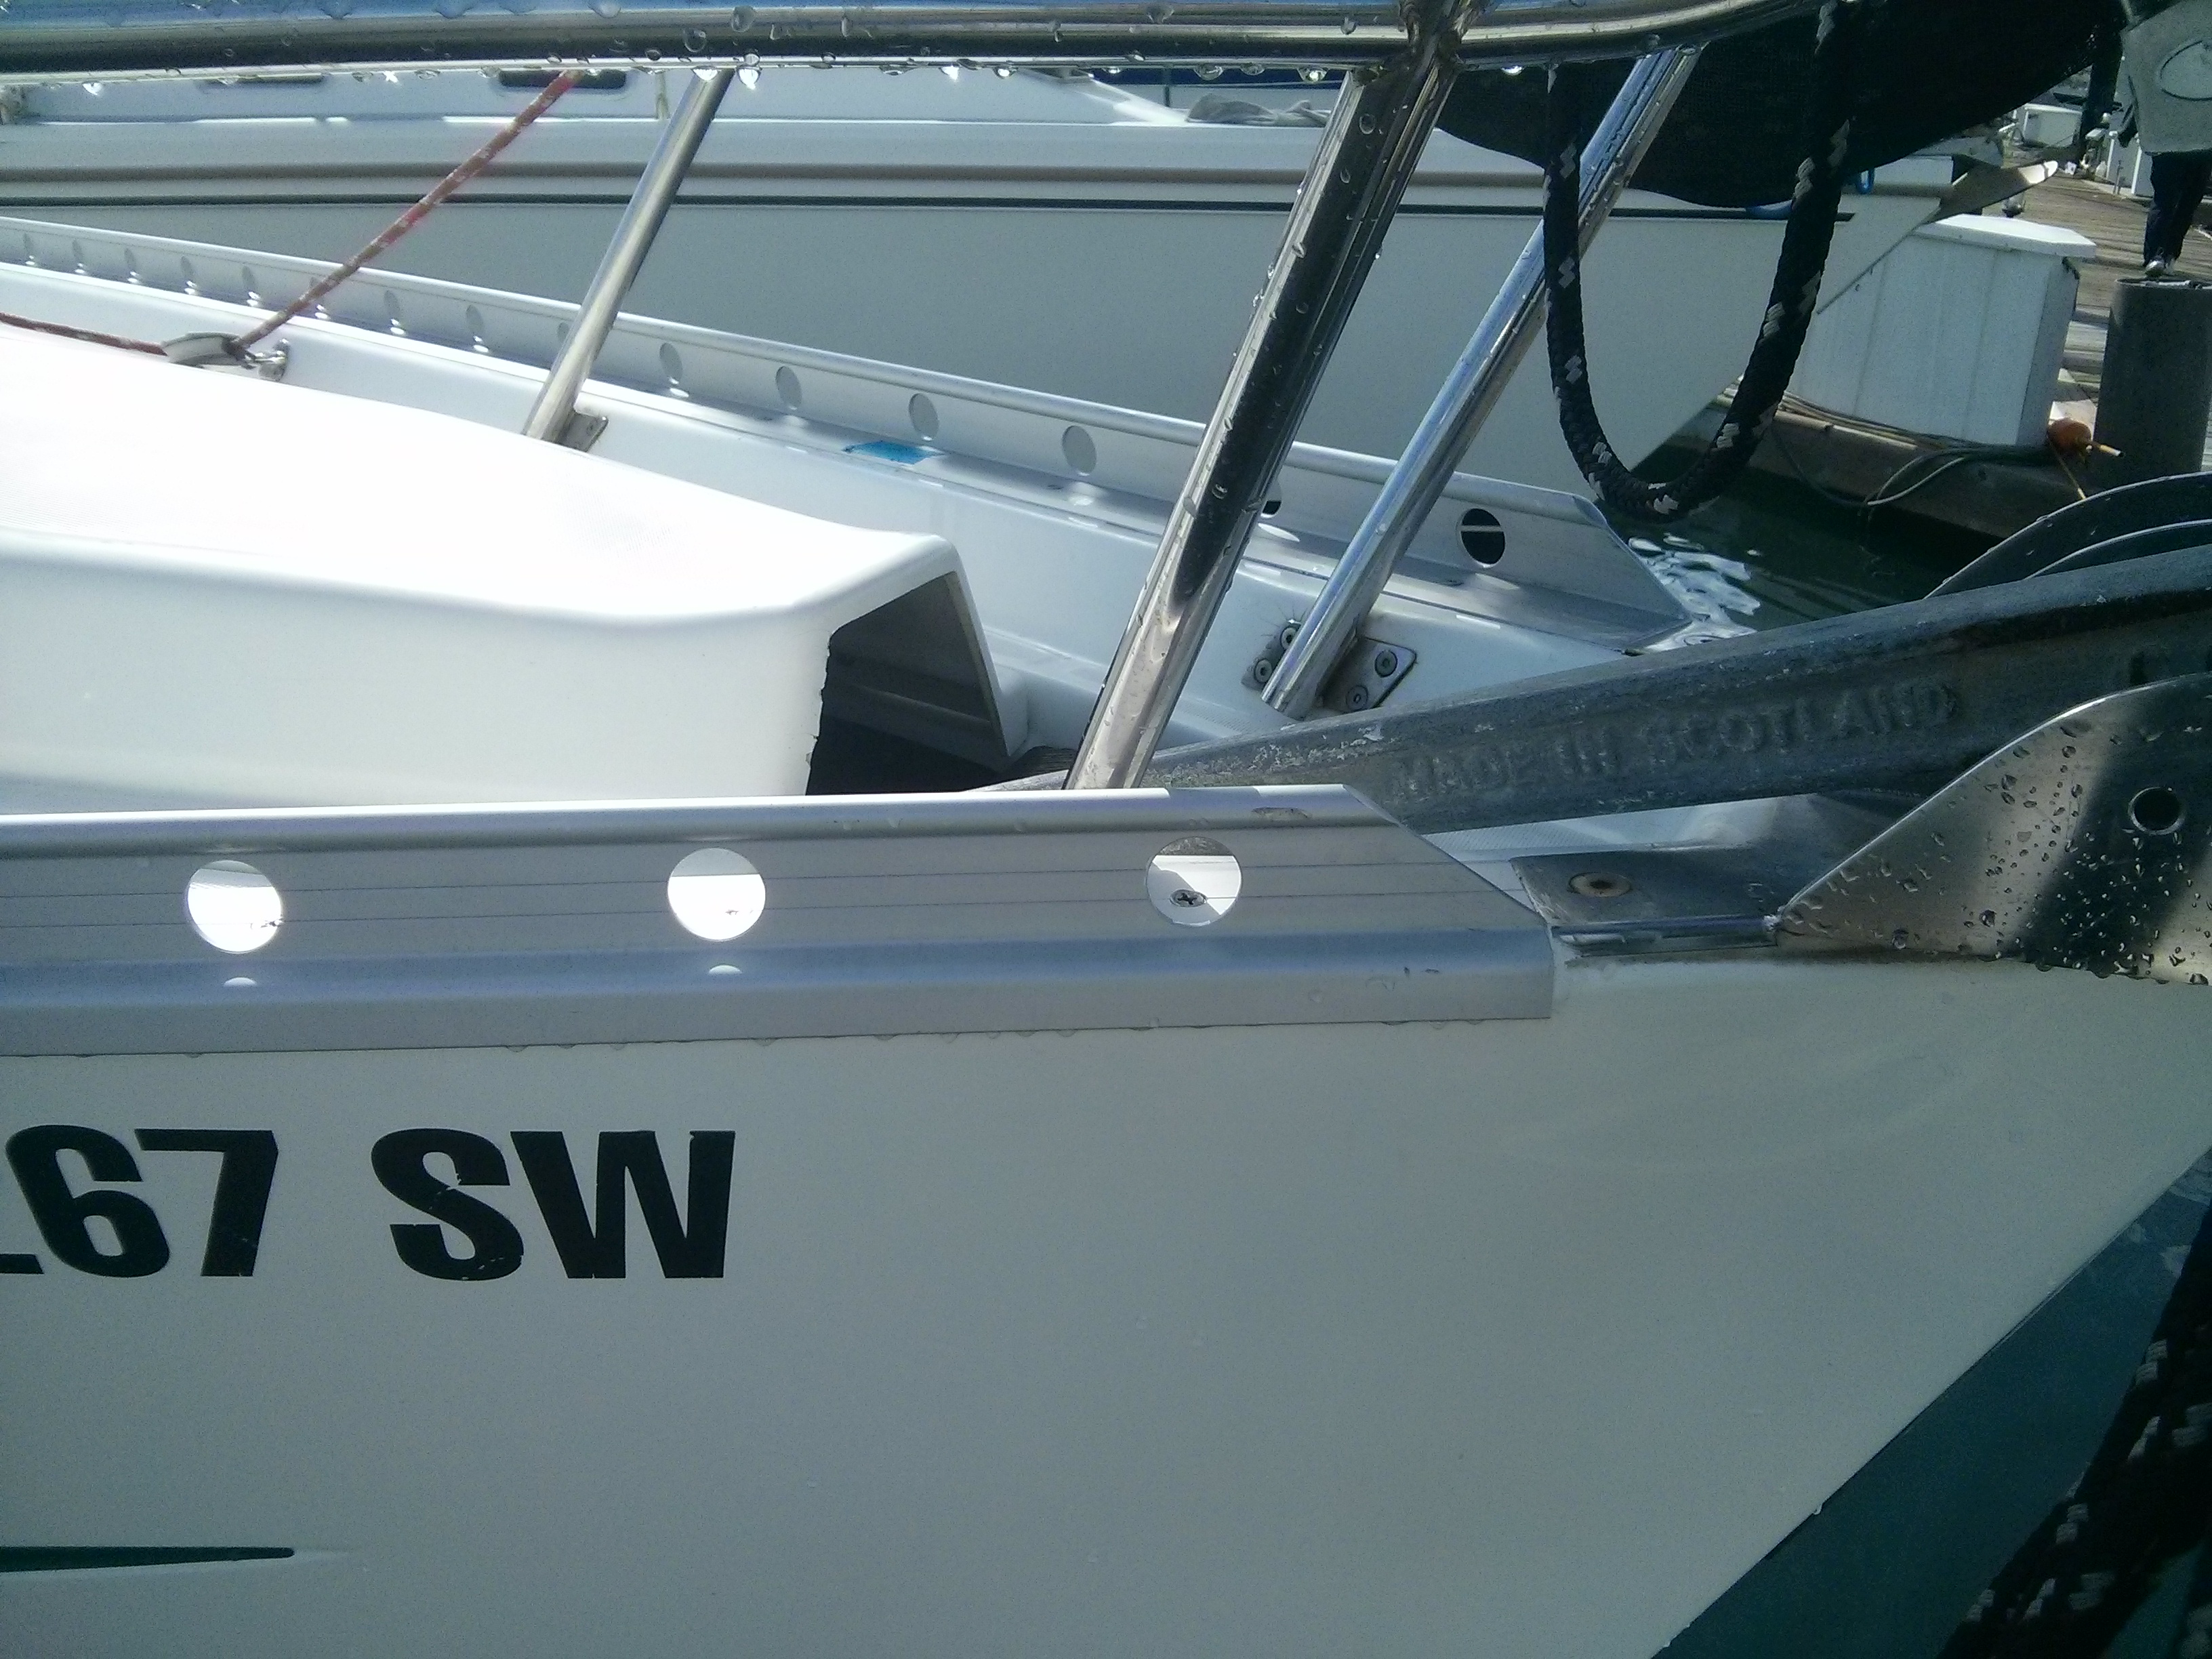
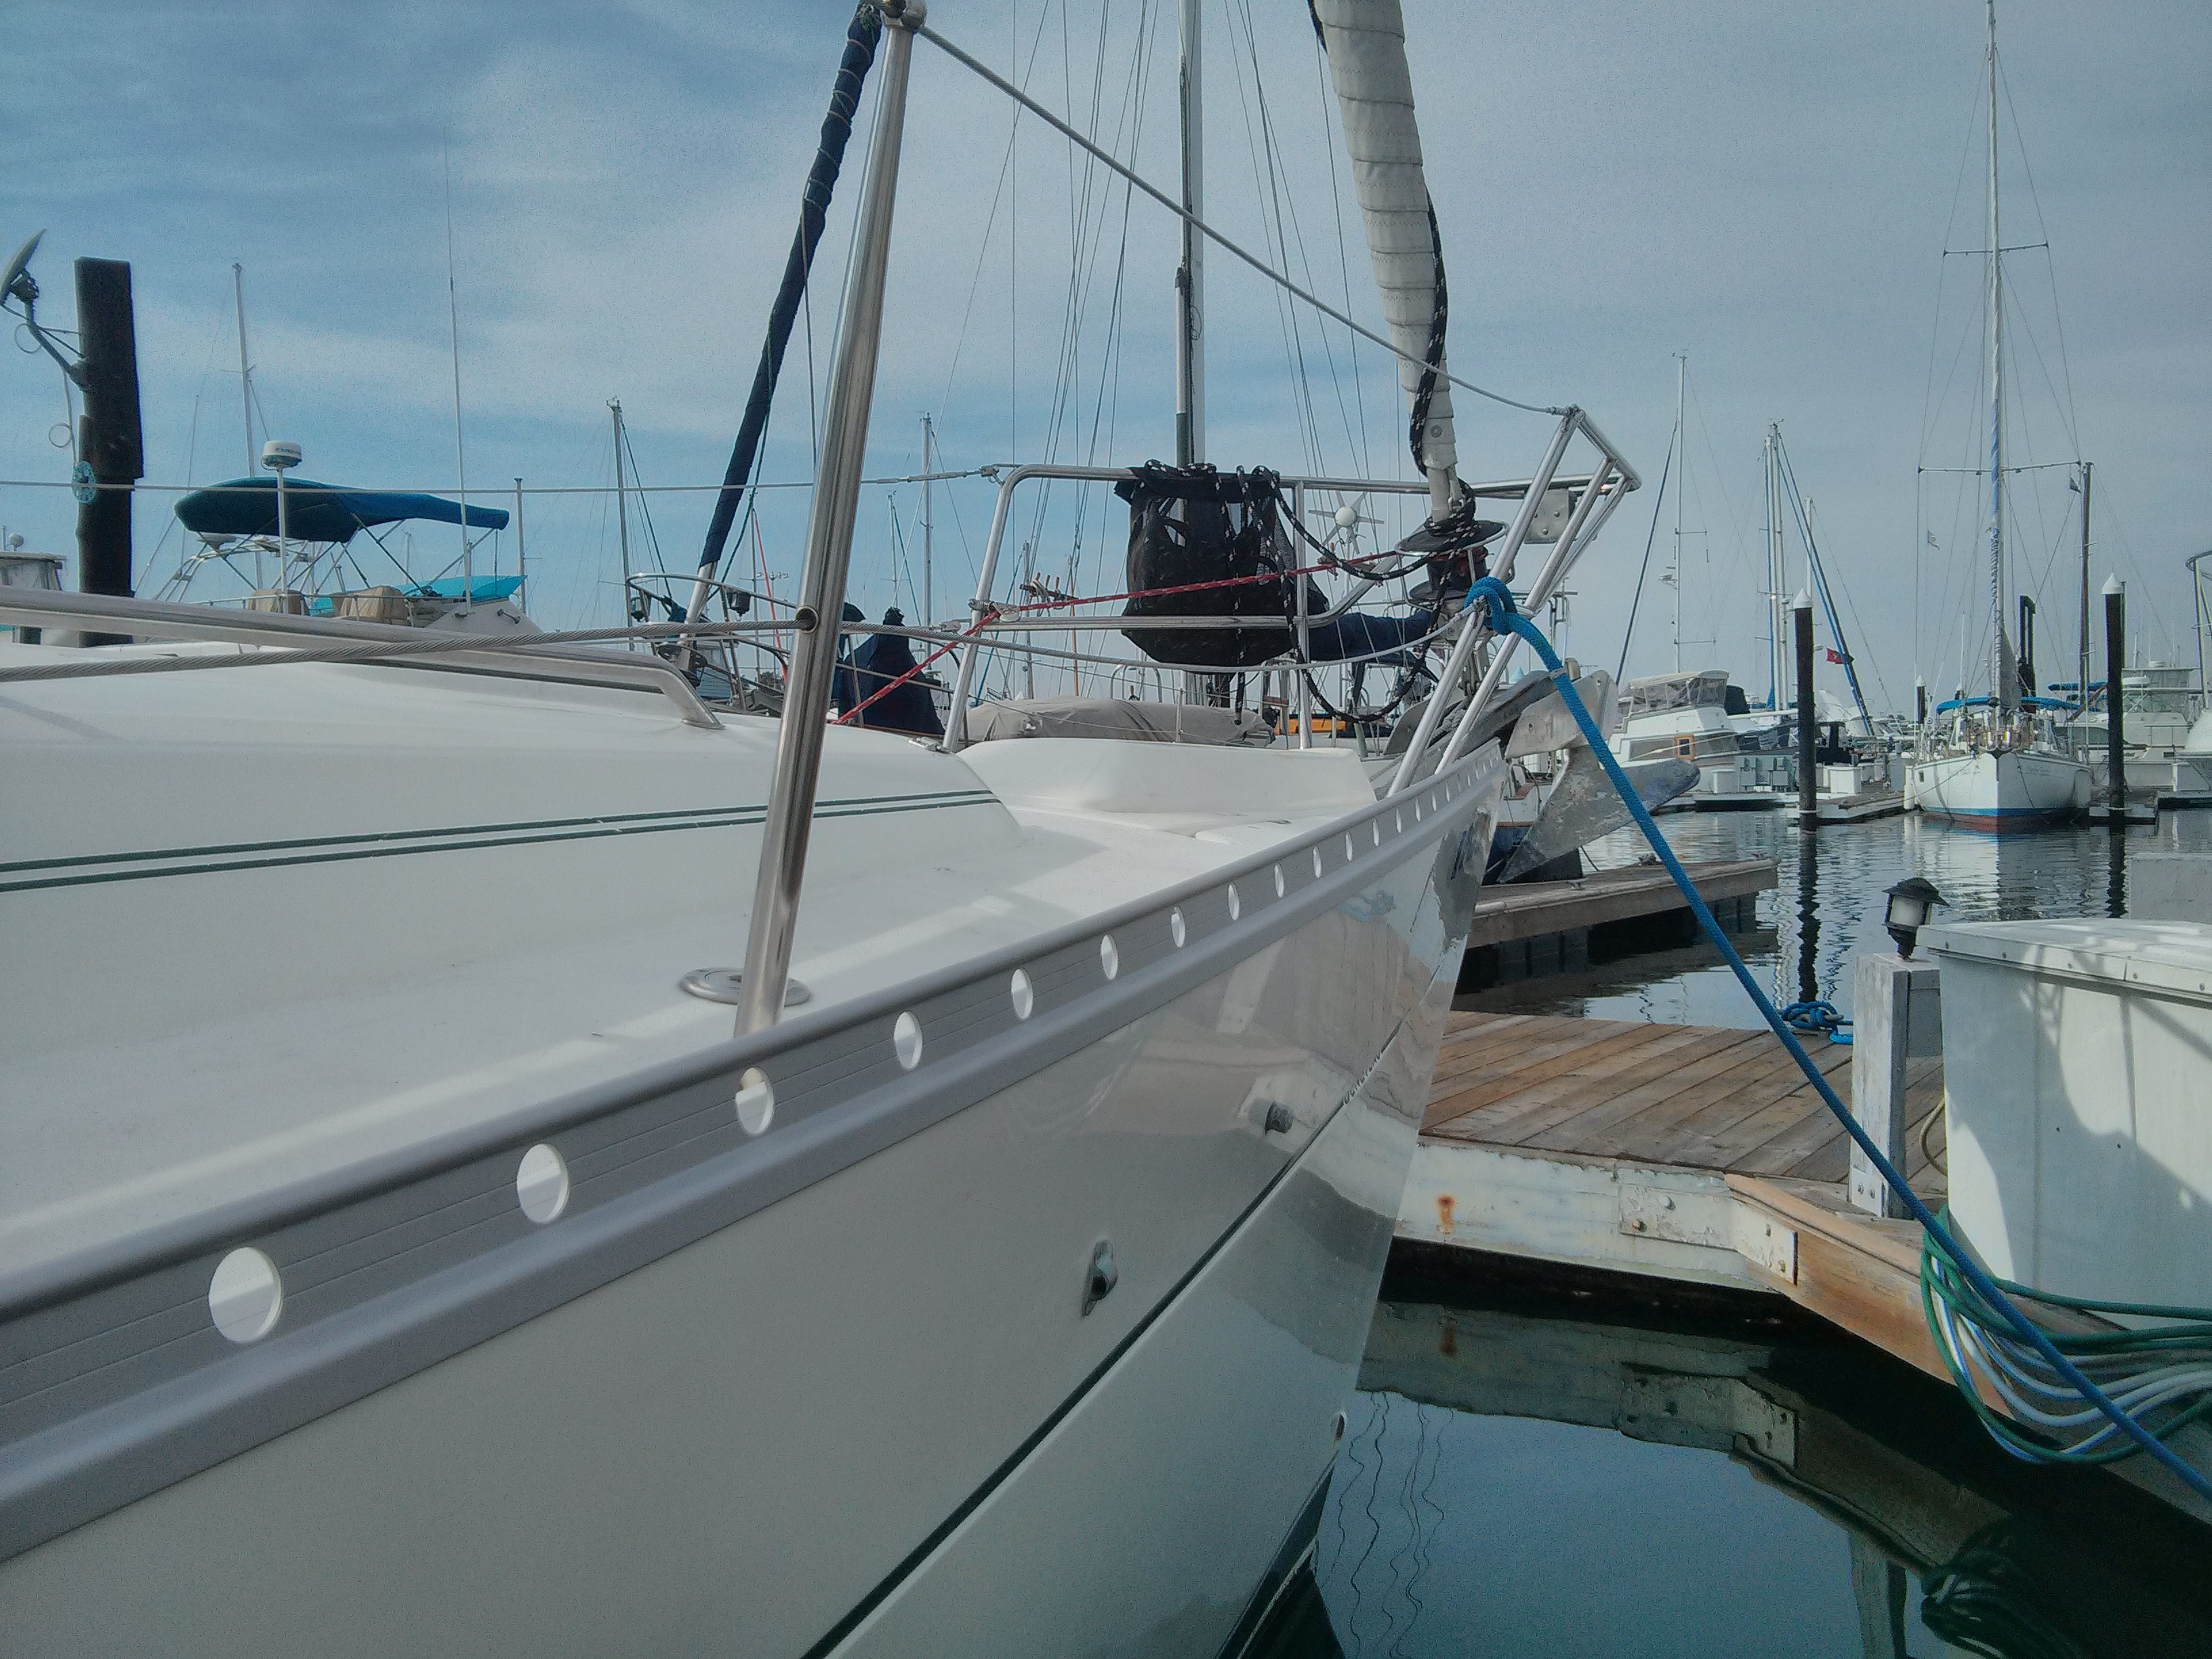
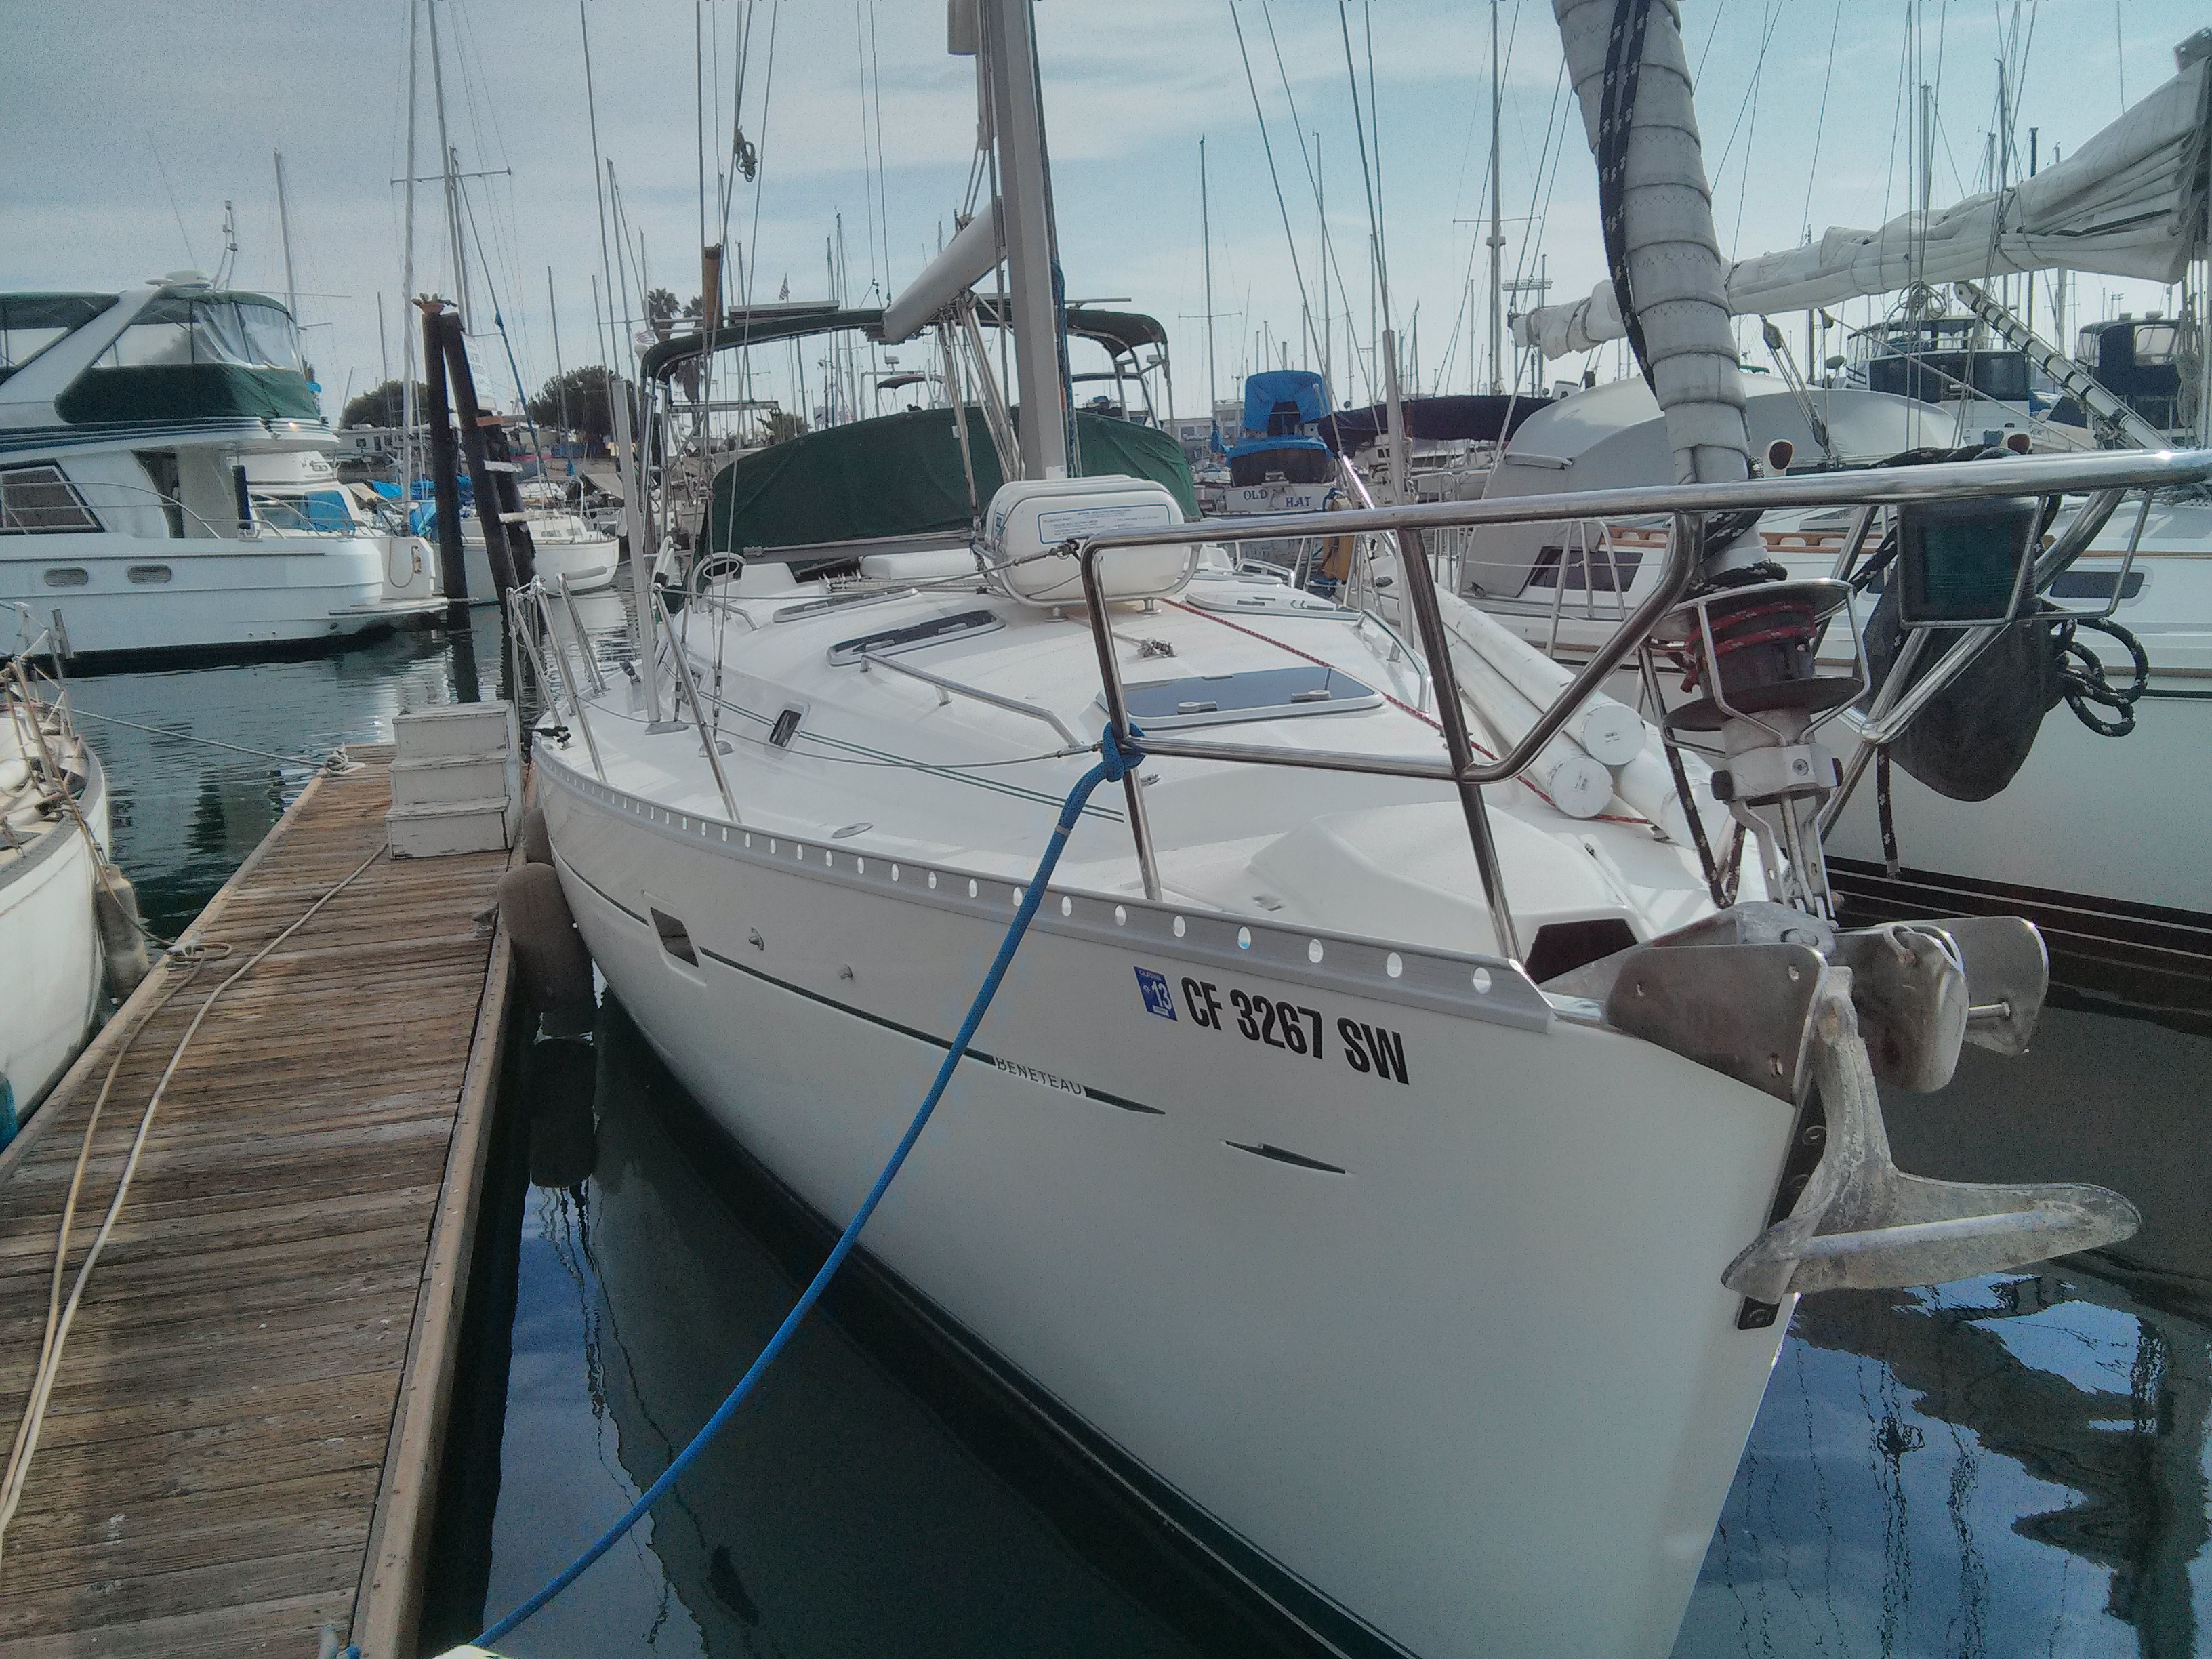
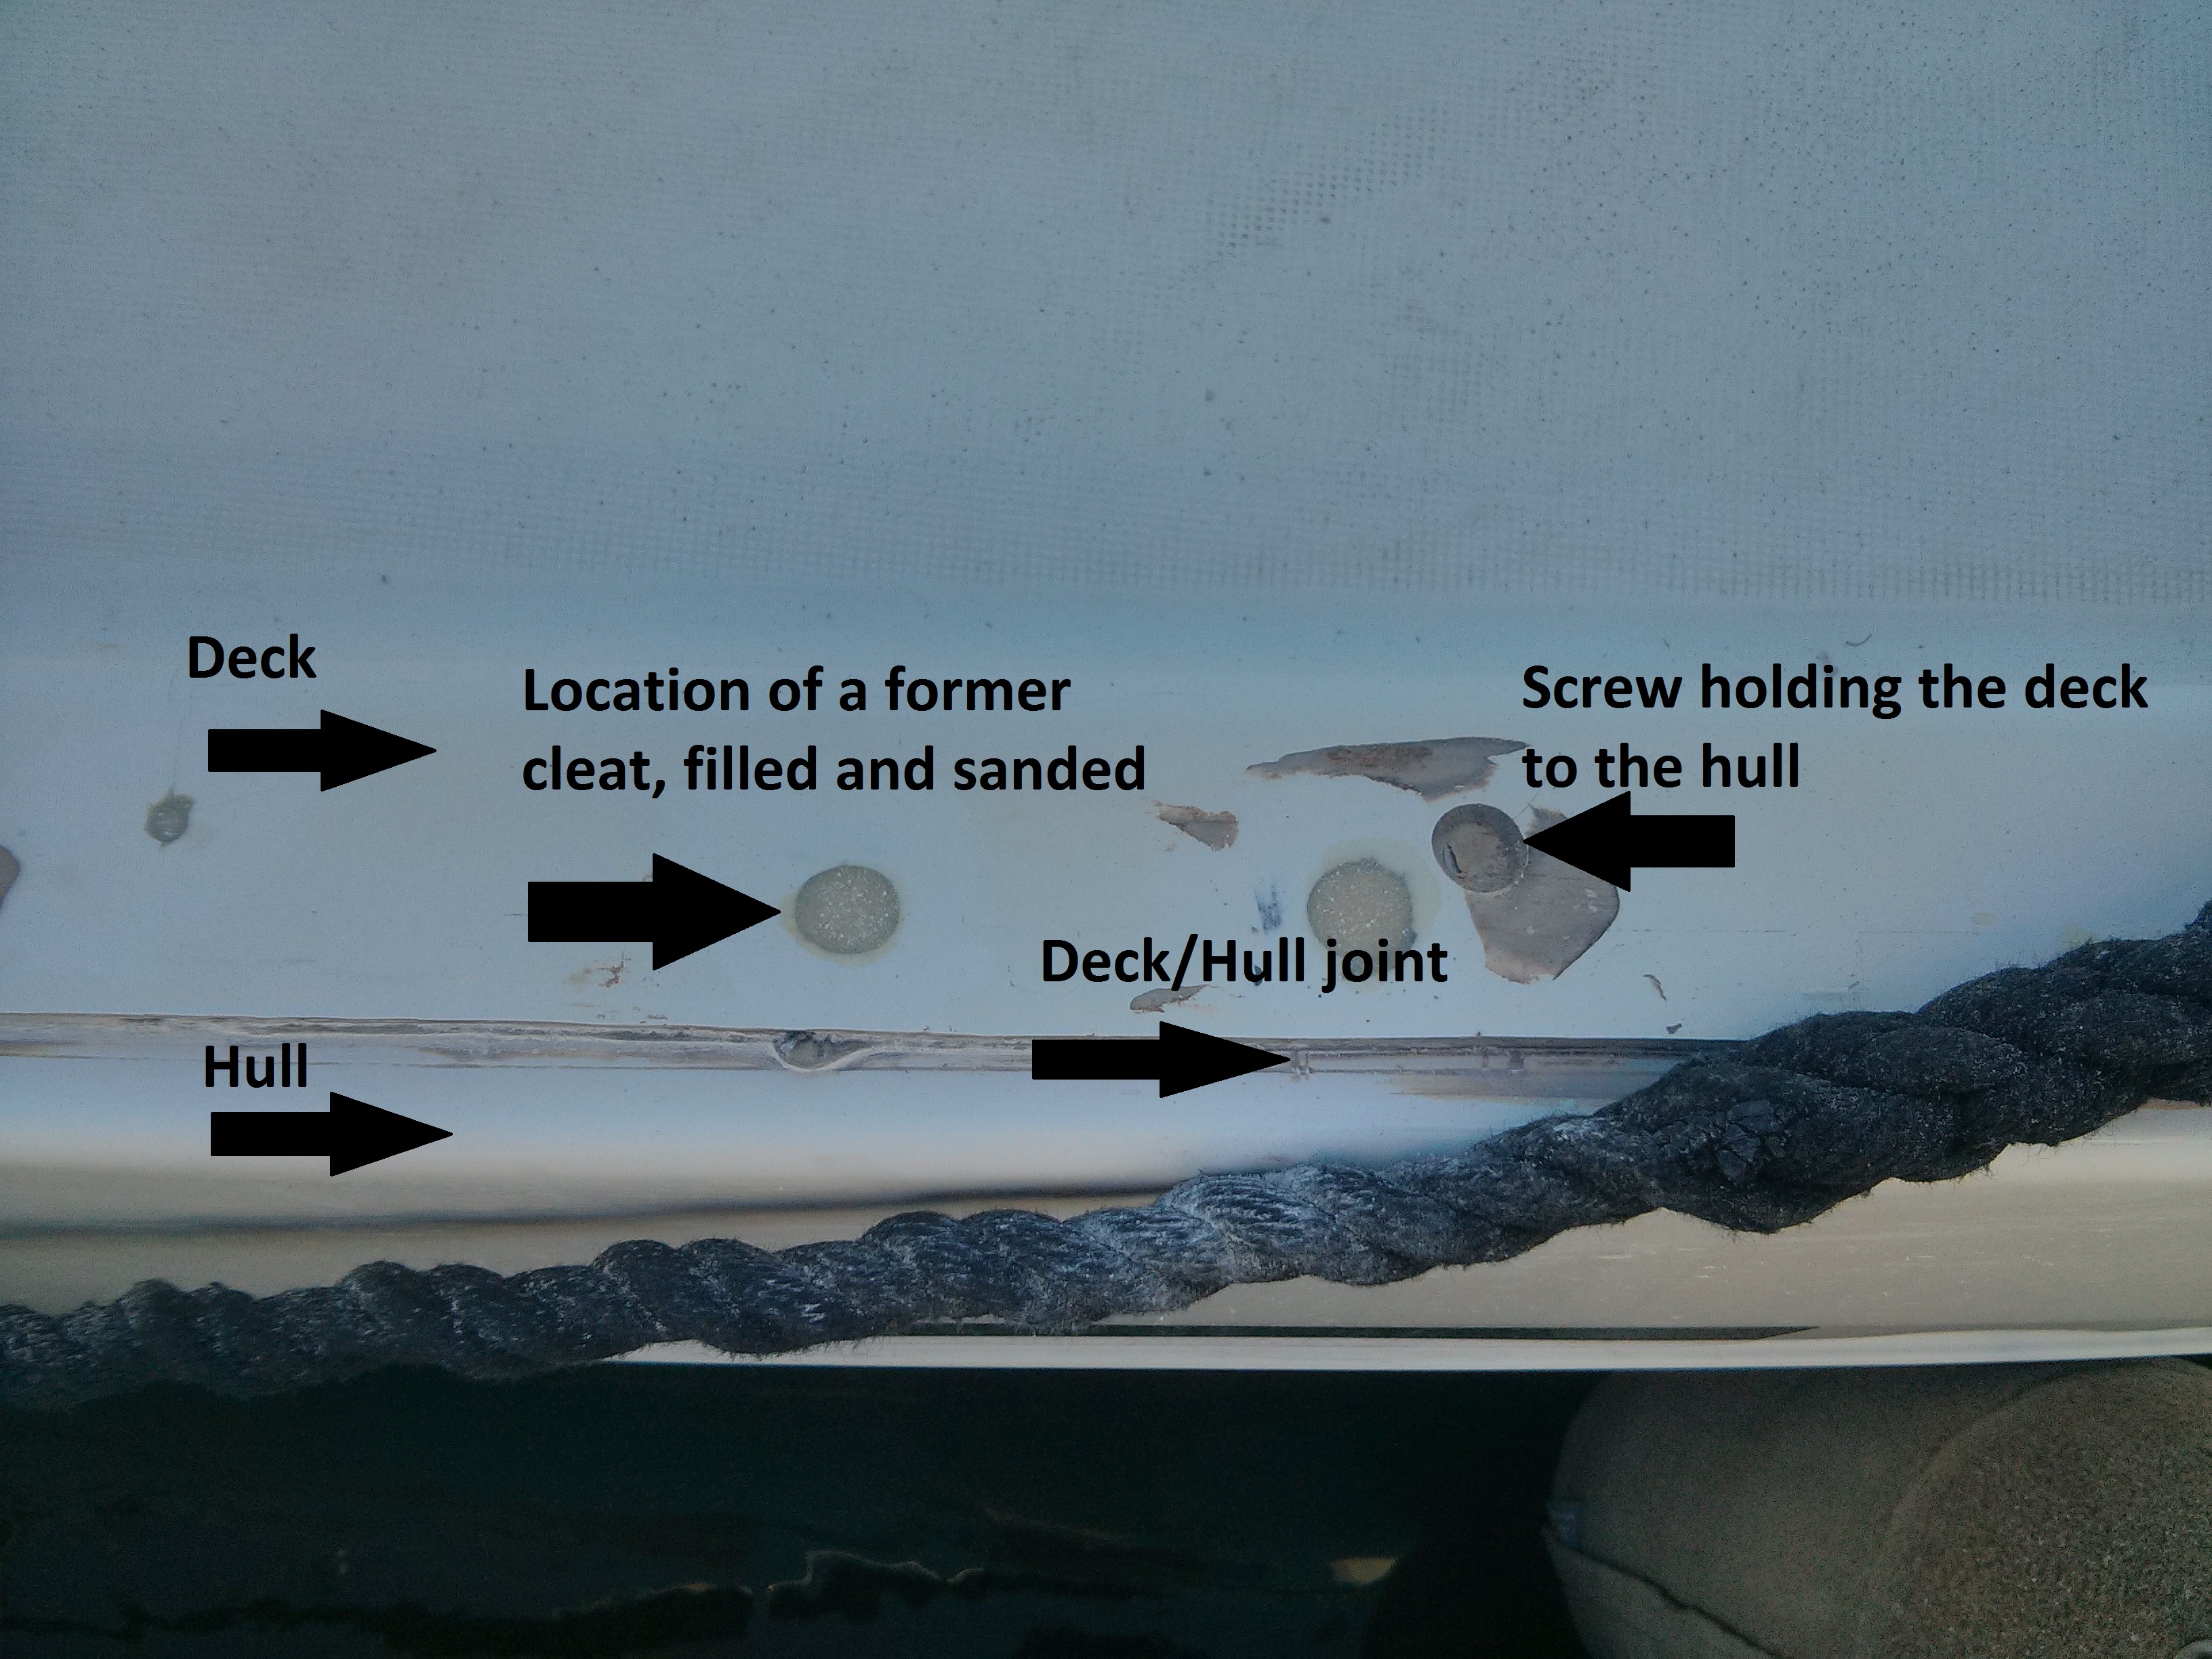
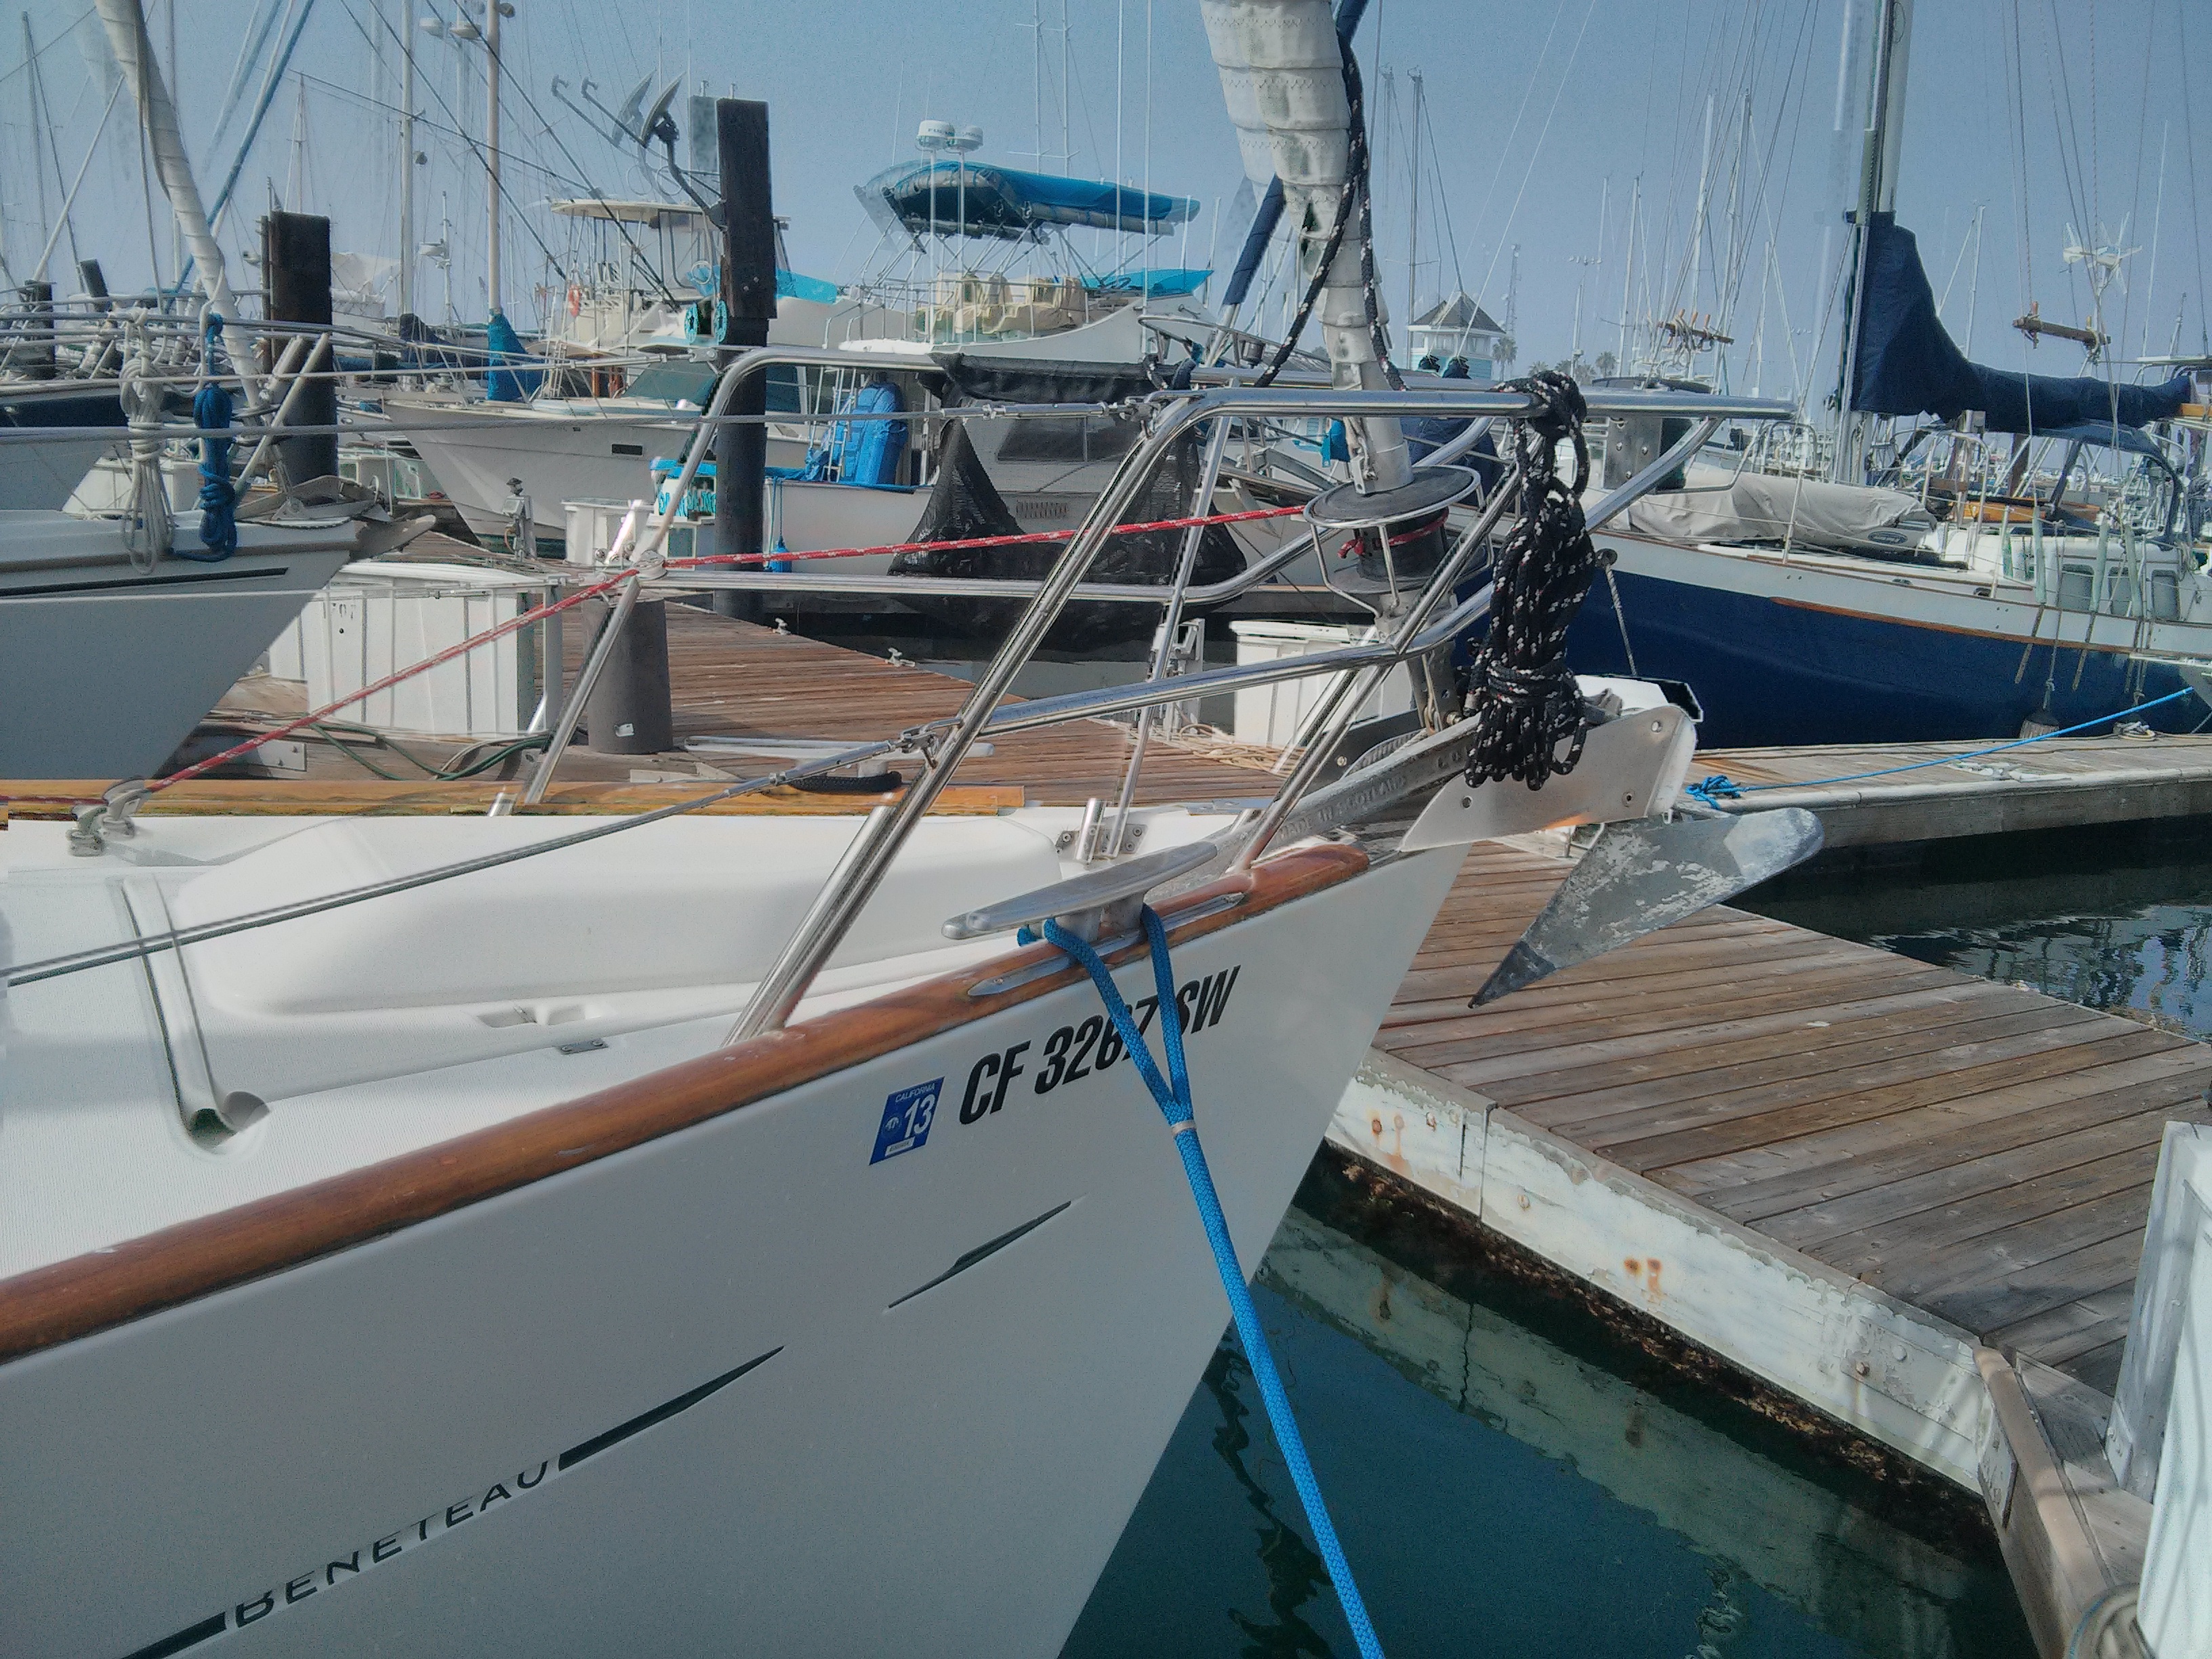
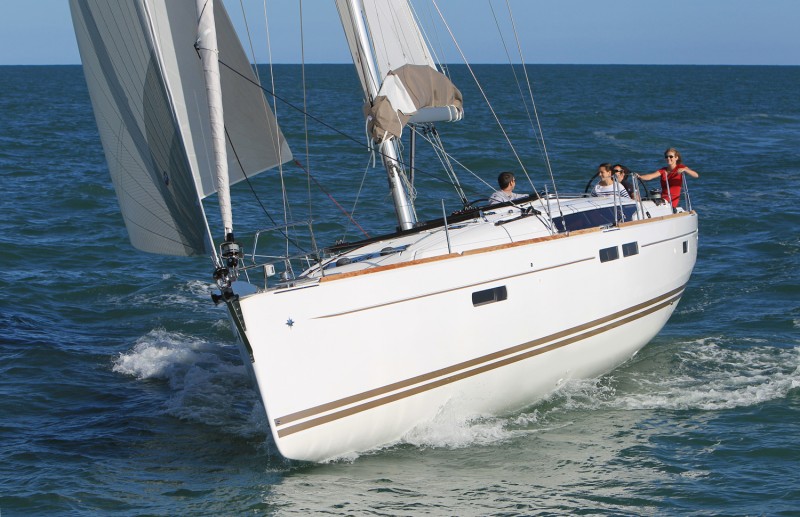
Now that the toe rail is in place, we can start working on dozens of smaller projects. We started the day by removing both the main sail and the jib from their furlers. They both need a little bit of “help” from the sail’s loft but we also had to remove them in preparation for taking down the mast.

It was initially not obvious to me that the mast had to come down before the race. The surveyor who checked the boat last year told me that everything looks good and that the rigging would last a long time. He was for the most part correct but when Bob and I removed the boom on Saturday, it became very clear that carefully checking everything before crossing the Pacific ocean is the right thing to do. The boom itself was OK but we found 3 problems that I had previously missed:

  • One of the retaining clevis pins was broken and the boom was almost out of its hinge
  • The rivets on one of the attachment point of the main sheet were ready to give up
  • One of the sheave inside the boom was broken in two – that may explain why the main sail was sometimes a bit hard to winch

I am wondering what we will find when we finally take the mast down – likely around mid-March.

We also installed a permanently-mounted antenna for the satellite phone. We had to drill a hole in the stainless steel arch (not easy), and route the coaxial cable through the tubing. I ordered 35′ of LMR400 and 4′ of LM240 with the TNC connectors that are standard for all the Iridium accessories.I ordered the cables from MPD Digital. The company’s slogan is: “Welcome – If it’s Made in a Communist Country we don’t sell it!“, which is a funny (?) way to claim that they only sell US-made cables. Regardless of their political opinion, the quality was extremely good and the price very reasonable for such a small custom order.

The external helix antenna together with the low loss cable should give us a reliable signal at the nav station. Verdict next week when I bring the phone for a test..
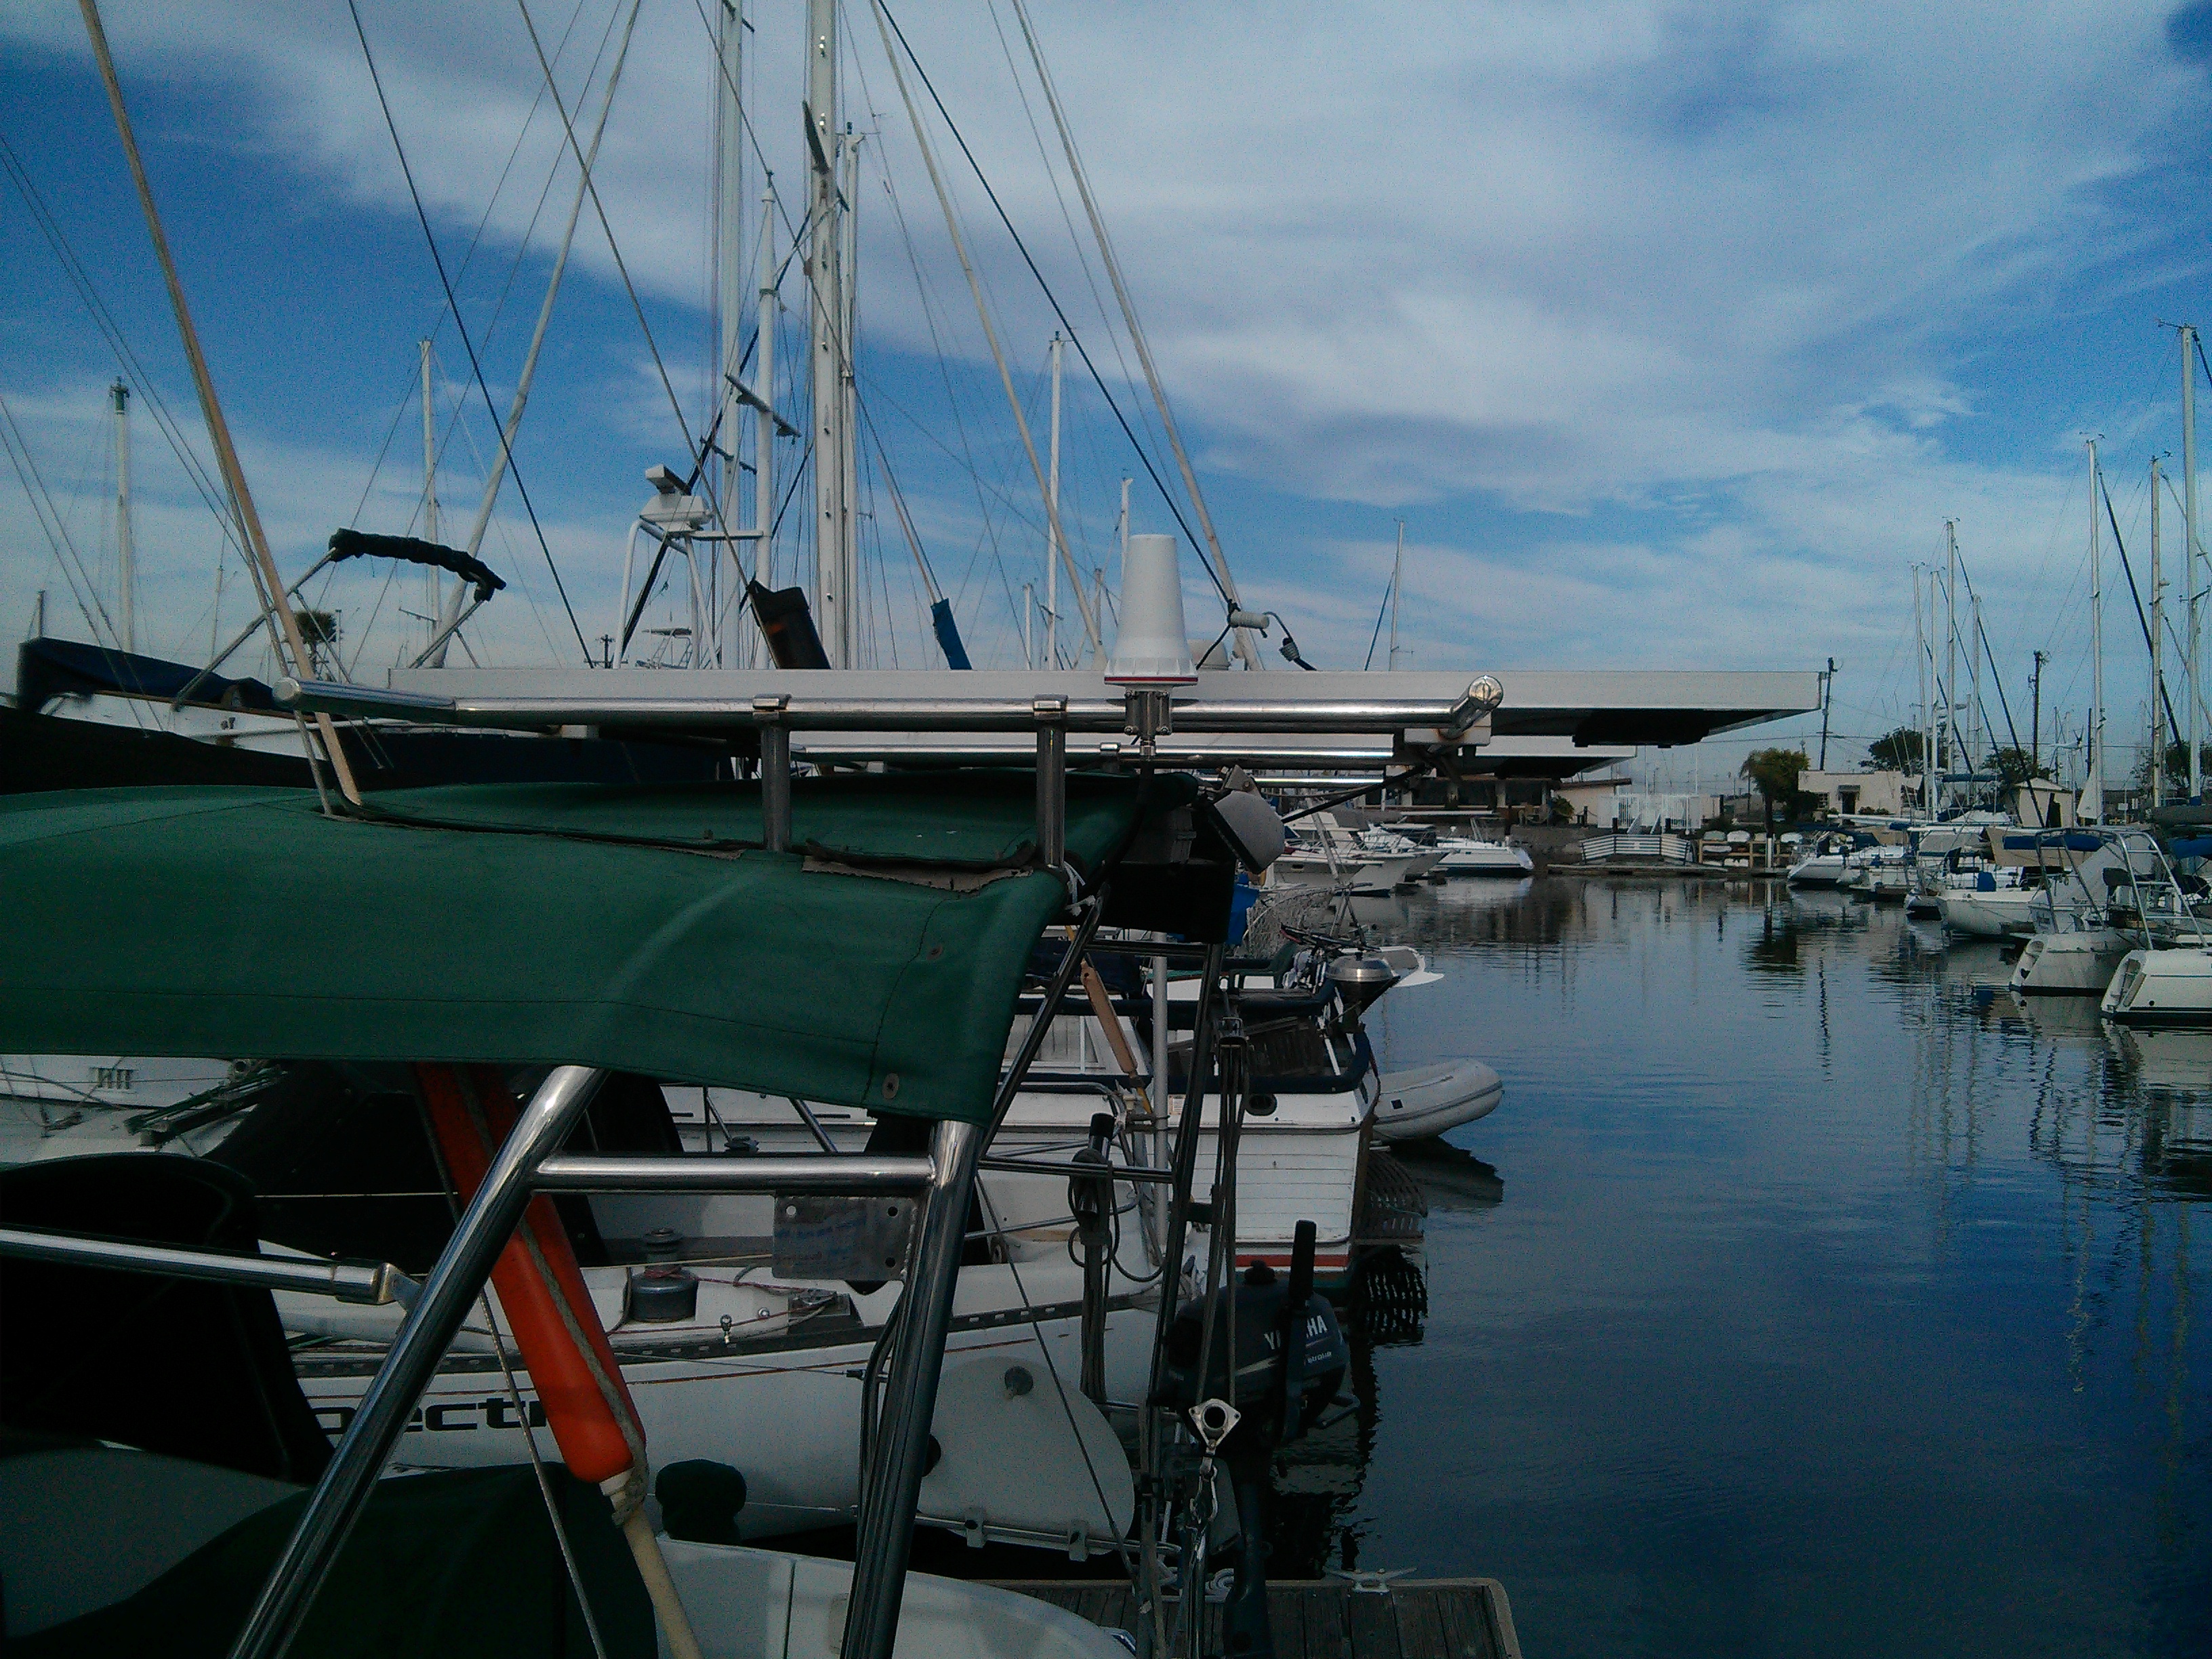
The iridium antenna

The iridium antenna

Toe rail is 75% done

Thanks to the hard work of Bob and Bernard and some last-minute help from Dianna, we were able to complete the installation of the 3rd toe rail. One side of the boat is now completed.

Port side is done

Port side is done

We will still need to notch the rail in a few places to install the cleats. We already cut the rail at an angle to have a nice transition from the rail to the anchor roller.

Rail at the bow

Rail at the bow

The inside of the boat is a total mess as every cabinet had to be removed (at the least the top part).

Another 25%

We spent another weekend putting the rail on the port side. We managed to do it in one day of work instead of one and half for the first section.

Working hard!

Working hard!

Bob had spent a lot of time preparing for the day and gave me his spot at the dock so Med Viking could be on the right side of the dock.

Some clean-up and we are done

Some clean-up and we are done

After work it was time to relax.

Bob and Bernard inspecting the work

Bob and Bernard inspecting the work

The best part: Dianna cooked a meal of fresh Ahi Tuna. That was delicious.

Photo credit: Dianna

We got serious

As promised in my previous post, Bob and I got really serious and installed 25% (one section) of the new toe rail. As always, preparation was the key to success. We spent Saturday bending the aluminum and drilling the deck in preparation for the actual fitting on Sunday. Everything worked as planned. We drilled undersized holes and “threaded” the screws through the fiberglass. We just inserted a few nuts to hold the rail in place but most of them were just holding the rail by the thread (a trick that Robb Walker taught me)

Ready for toe rail

Ready for toe rail!

After dry fitting the toe rail, we removed it. We found out that the aluminum has no memory. The extrusion came back straight as an arrow! We then drilled the holes to size, cleaned up everything and put masking tapes on the holes as the nights are quite humid. Another nice trick: on Saturday night I glued 40 fender washers to 40 nuts with super glue. That helped holding them together and making sure that the nuts would not fall into the socket.

On Sunday, with the help of Dianna, Paul, Glen and Judy, we were able to bend the rail back into place. Only this time we had a few beads of Life Calk as sealant. A few screws were really hard to reach from below but we managed to get all of them. We were very happy with the result.

Looking good!

Looking good!

We still need to add a notch “somewhere” for the over sized cleats that came with the boat.

To be notched

To be notched

The icing on the cake was that Bob found out (at the end of the day!) that we can just unscrew the top of the cabinets to reach basically everywhere. I will still need to use my aluminum stick extension (socket taped at the end) but that removes the last worry I had (especially in the galley).

Bare boat

This is how Med Viking looks after removing the rails:

Bare boat!

Bare boat!

All the rails have been removed, the holes left by the screw that used to hold the rail to the deck and the cleats have been filed with epoxy and sanded:

After sanding

After sanding

Here is the same picture with some explanations:

Details of the deck-hull joint

Details of the deck-hull joint


Back on the rail…

I finally had a nice working weekend and with the help of Bob and Derrick, I was able to start some serious work on the railing. The goal is to remove the existing teak railing:

Original toe rail

Original toe rail

and put an all aluminum toe rail instead.

The first step was to remove all the wood plugs:

Now the screw is showing under the plug (removed)

Now the screw is showing under the plug (removed)

and unscrew the rail. The mid-point fairlead is shown here:

Opening a notch to check the fairlead

Opening a notch to check the fairlead

After removing the whole teak, it was time to do some clean-up, drill some bigger holes, clean everything with acetone and denatured alcohol, put some tape to close the holes and fill the holes with thickened epoxy. All went quite well but we realized that some holes are very hard to reach and we wont be able to screw the to rail…

Thanks again to Bob and Derrick for your help and many thanks to Dianna for loaning Bob to Med Viking!

A boat show and a (small) upgrade

Last weekend the whole family went to the Lido Boat Show in Newport Beach. While there were a lot of boats we liked, like the Jeanneau 469:

Jeanneau 469 Outside

Jeanneau 469 Outside

Jeanneau 469 Inside

Jeanneau 469 Inside

the only purchase I made was to buy some Halyard Hangers:

Halyard Hangers Before

Halyard Hangers Before

Halyard Hangers After

Halyard Hangers After

These guys designed them and are selling them. They are beautiful and the lines don’t fall just after being nicely stowed!

New fire extinguishers

The race requires each boat to have at least 2 fire extinguishers with at least 2 kg (4.40 lbs) of dry powder. Med Viking currently has 3 fire extinguishers but they are the smaller marine type:

Current one (2.5 lbs of agent)

Current one (2.5 lbs of agent)

Fire extinguishers are hard to buy online because they are pressurized items and heavy. The good news is that Home Depot has the required models in the 5 lbs class:

Kidde 340

Kidde 340  (5 lbs of agent)

These fire extinguishers are even Coast Guard approved if they are installed with the right mounting brackets. So after a tour on Amazon, I ordered two brackets:

Coast Guard approved bracket

Coast Guard approved bracket

I also started to draw a location map of different equipment and I started with the fire extinguishers:

Location map

Location map